The Hudson River Greenway along the Hudson River on Manhattan’s West Side is accessible for walking and biking from Battery Park all the way north to Inwood Hill Park at the top of the island. It keeps being expanded and is a destination for residents and visitors alike with recent additions like Little Island Park, Pier 26, and Pier 57. On the other hand, while the riverfront area along the East River has some lovely patches (like the John Finlay Walk next to Carl Schurz Park in Yorkville), there are also stretches where there is no waterfront access. There is a new plan to connect all of the East River waterfront, similarly to that seen on the Hudson River, and a new section of this was recently opened, beginning at East 54th Street and continuing up to connect an existing path at East 61st Street.
Entering the new stretch at East 54th Street, the views are instantly gorgeous. You can see south along the East River, as well as east to Long Island City.
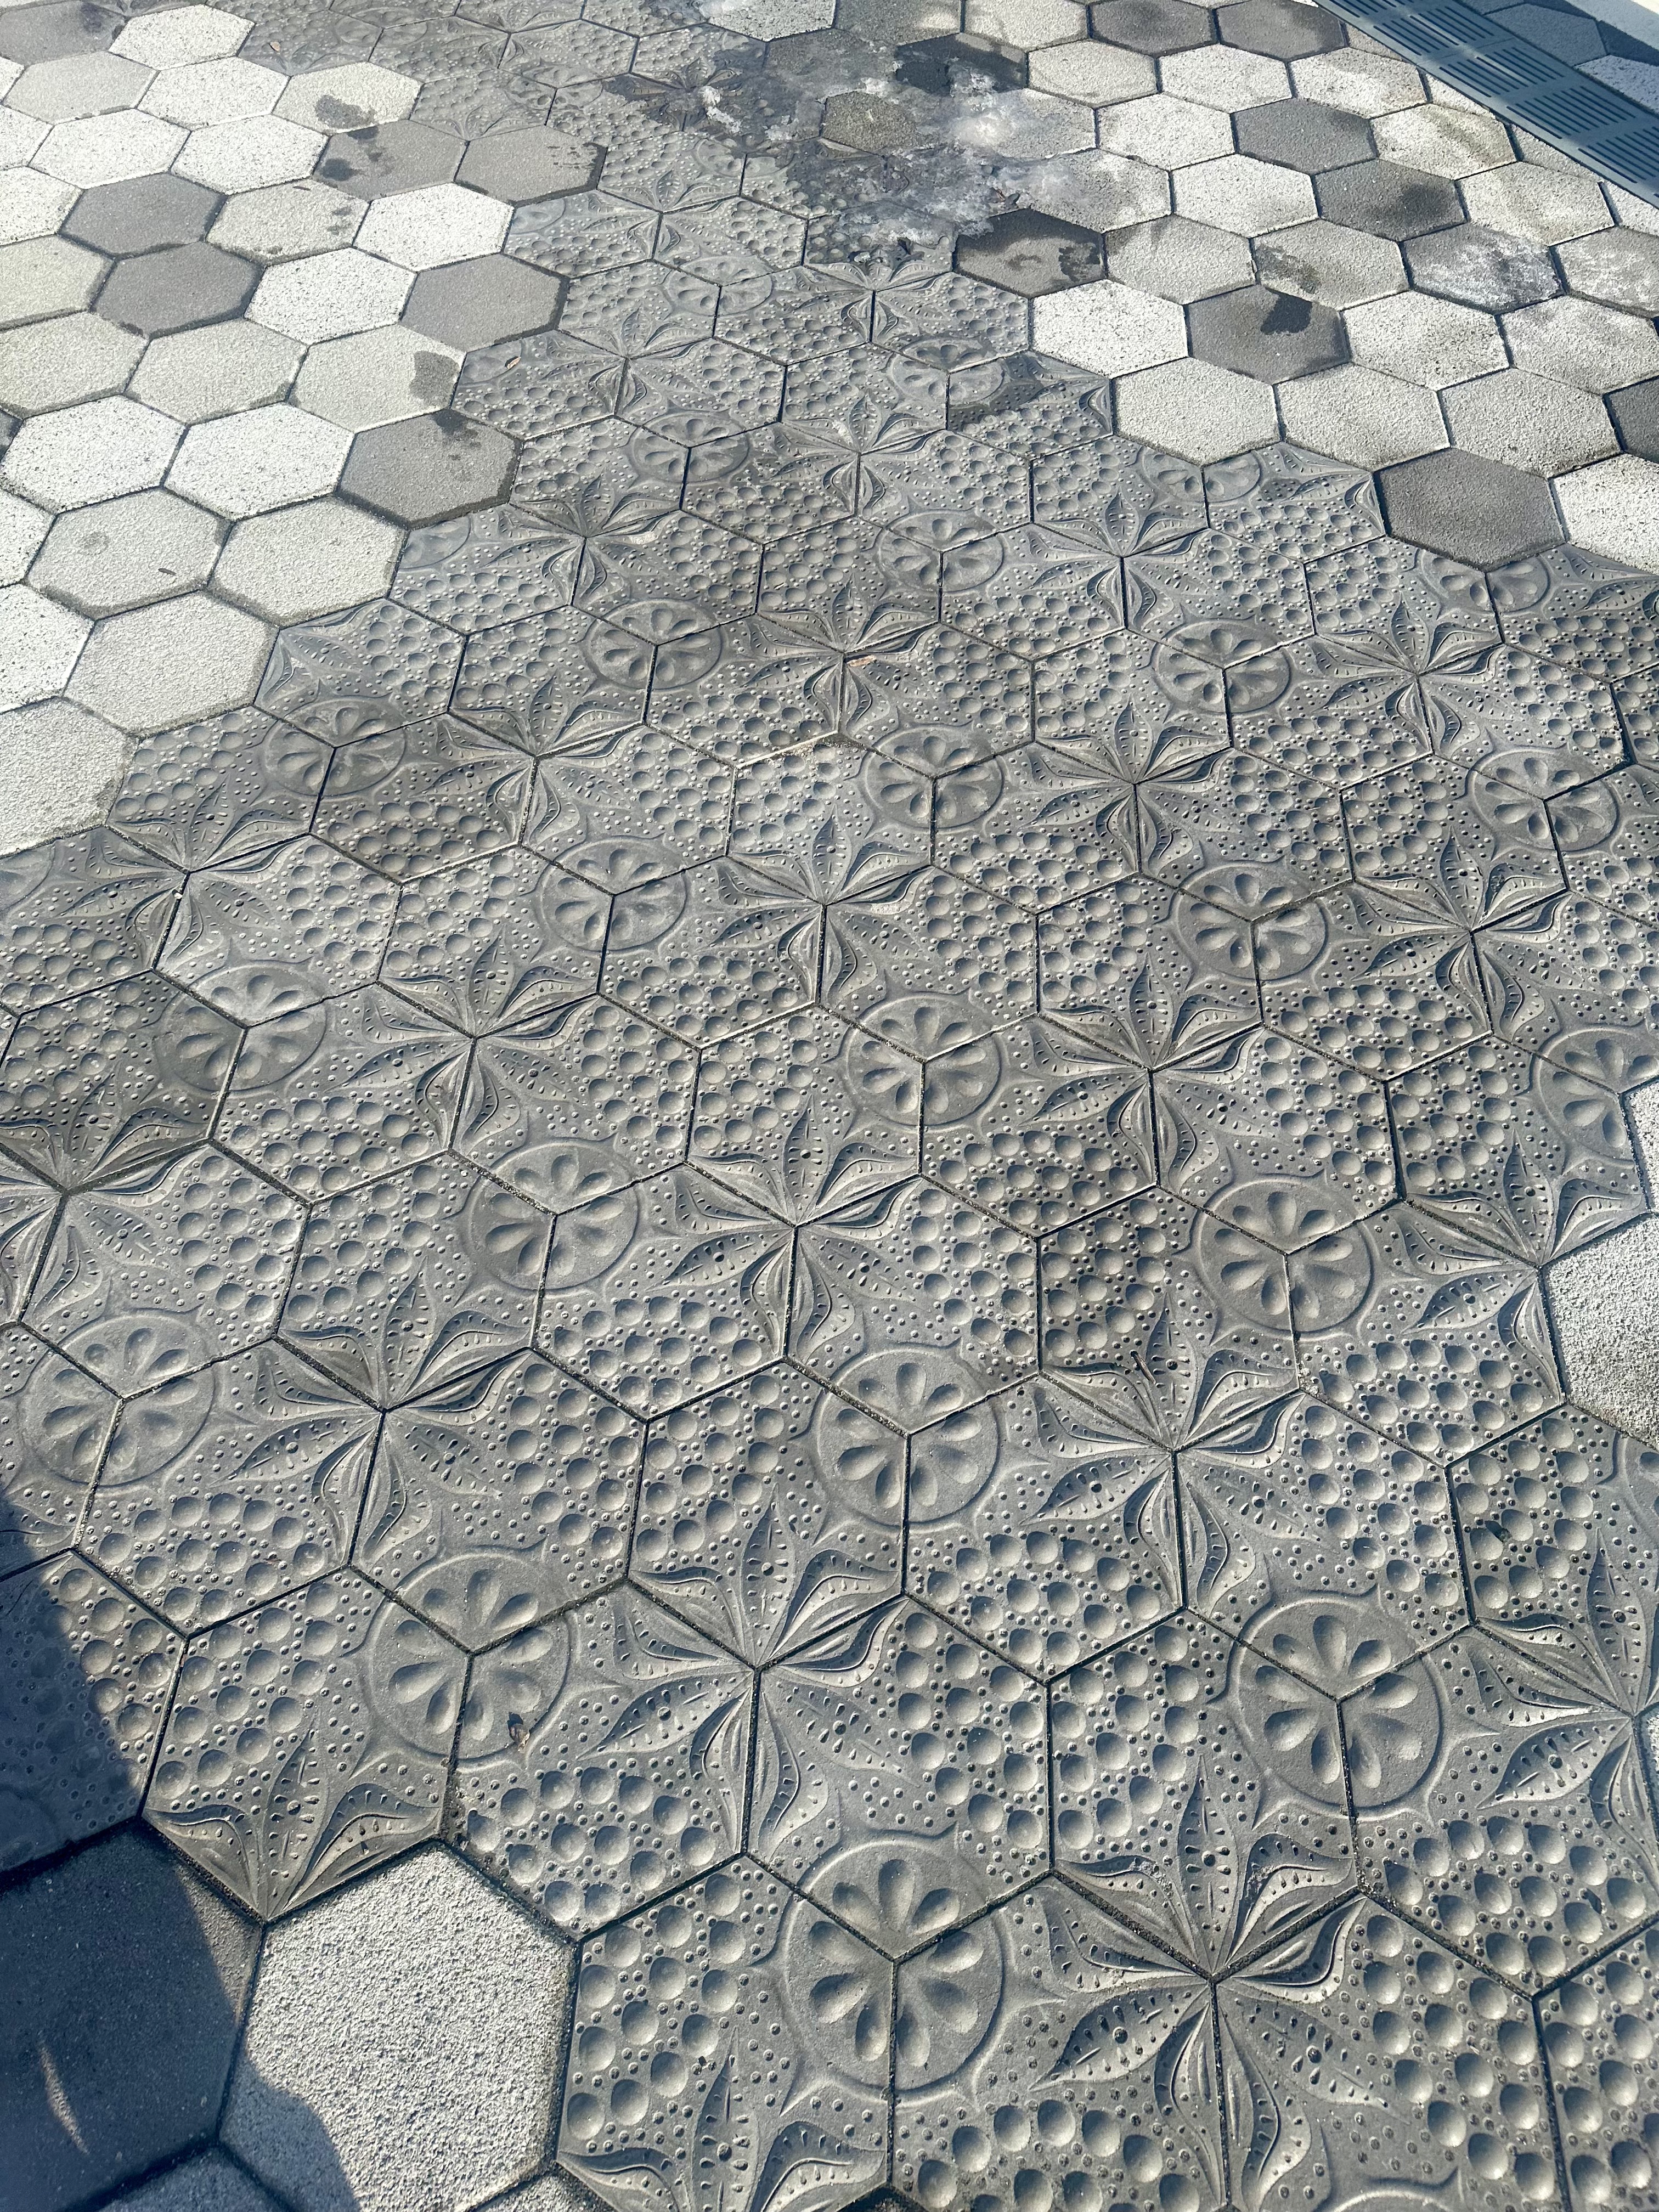
The tiling on the walkway is inspired by diatoms, single-celled microscopic algae. They are the base of the food chain in the river, and convert sunlight into energy. There can be hundreds or even thousands of diatoms in one spoonful of East River water. For more details about the use of these diatom-patterned pavers, check out the description from the artist who was involved, Stacy Levy.
As you start to connect to Andrew Haswell Green Park at East 61st, you can’t help but notice the thing that looks like an abandoned steel roller coaster track. In fact, it is an artwork by artist Alice Aycock, called The Roundabout. A little more about that as we exit the new walkway next to it!
You get some thrilling views of the Ed Koch/Queensboro/59th Street Bridge, especially as you walk under it.
If you choose to exit at East 61st rather than continuing north to the existing Andrew Haswell Green park, you get an up close look at Roundabout. It covers the roof of a defunct Department of Sanitation Building, and was inspired by the weightlessness of Fred Astaire’s dancing! You can read more about this artwork here.
The eventual goal of the East River Waterfront project is to have a continuous loop around all of Manhattan next to the waterfront. It will likely help the livability (and hence the value) of the far east side of midtown Manhattan to have a waterfront park, and one that connects all waterfront areas in Manhattan will be even more appreciated. I look forward to seeing the East River waterway in Manhattan continue to develop and enrich the experience of New Yorkers and visitors to the city alike.
This time of the year, New York City is filled with holiday decor, the lights driving back the darkness a bit as we head into winter’s solstice. Not all the lights are specifically about Christmas, but images of Santa are plentiful. What if you are interested in seeing – or even meeting – Santa in the city? There are many opportunities, and I will describe a few, leading up to the “Miracle on 34th Street” pinnacle of seeing the “real” Santa at Macy’s Santaland (not for the faint of heart). I will also let you in on a few experiences where Santa is there but not necessarily the main event.
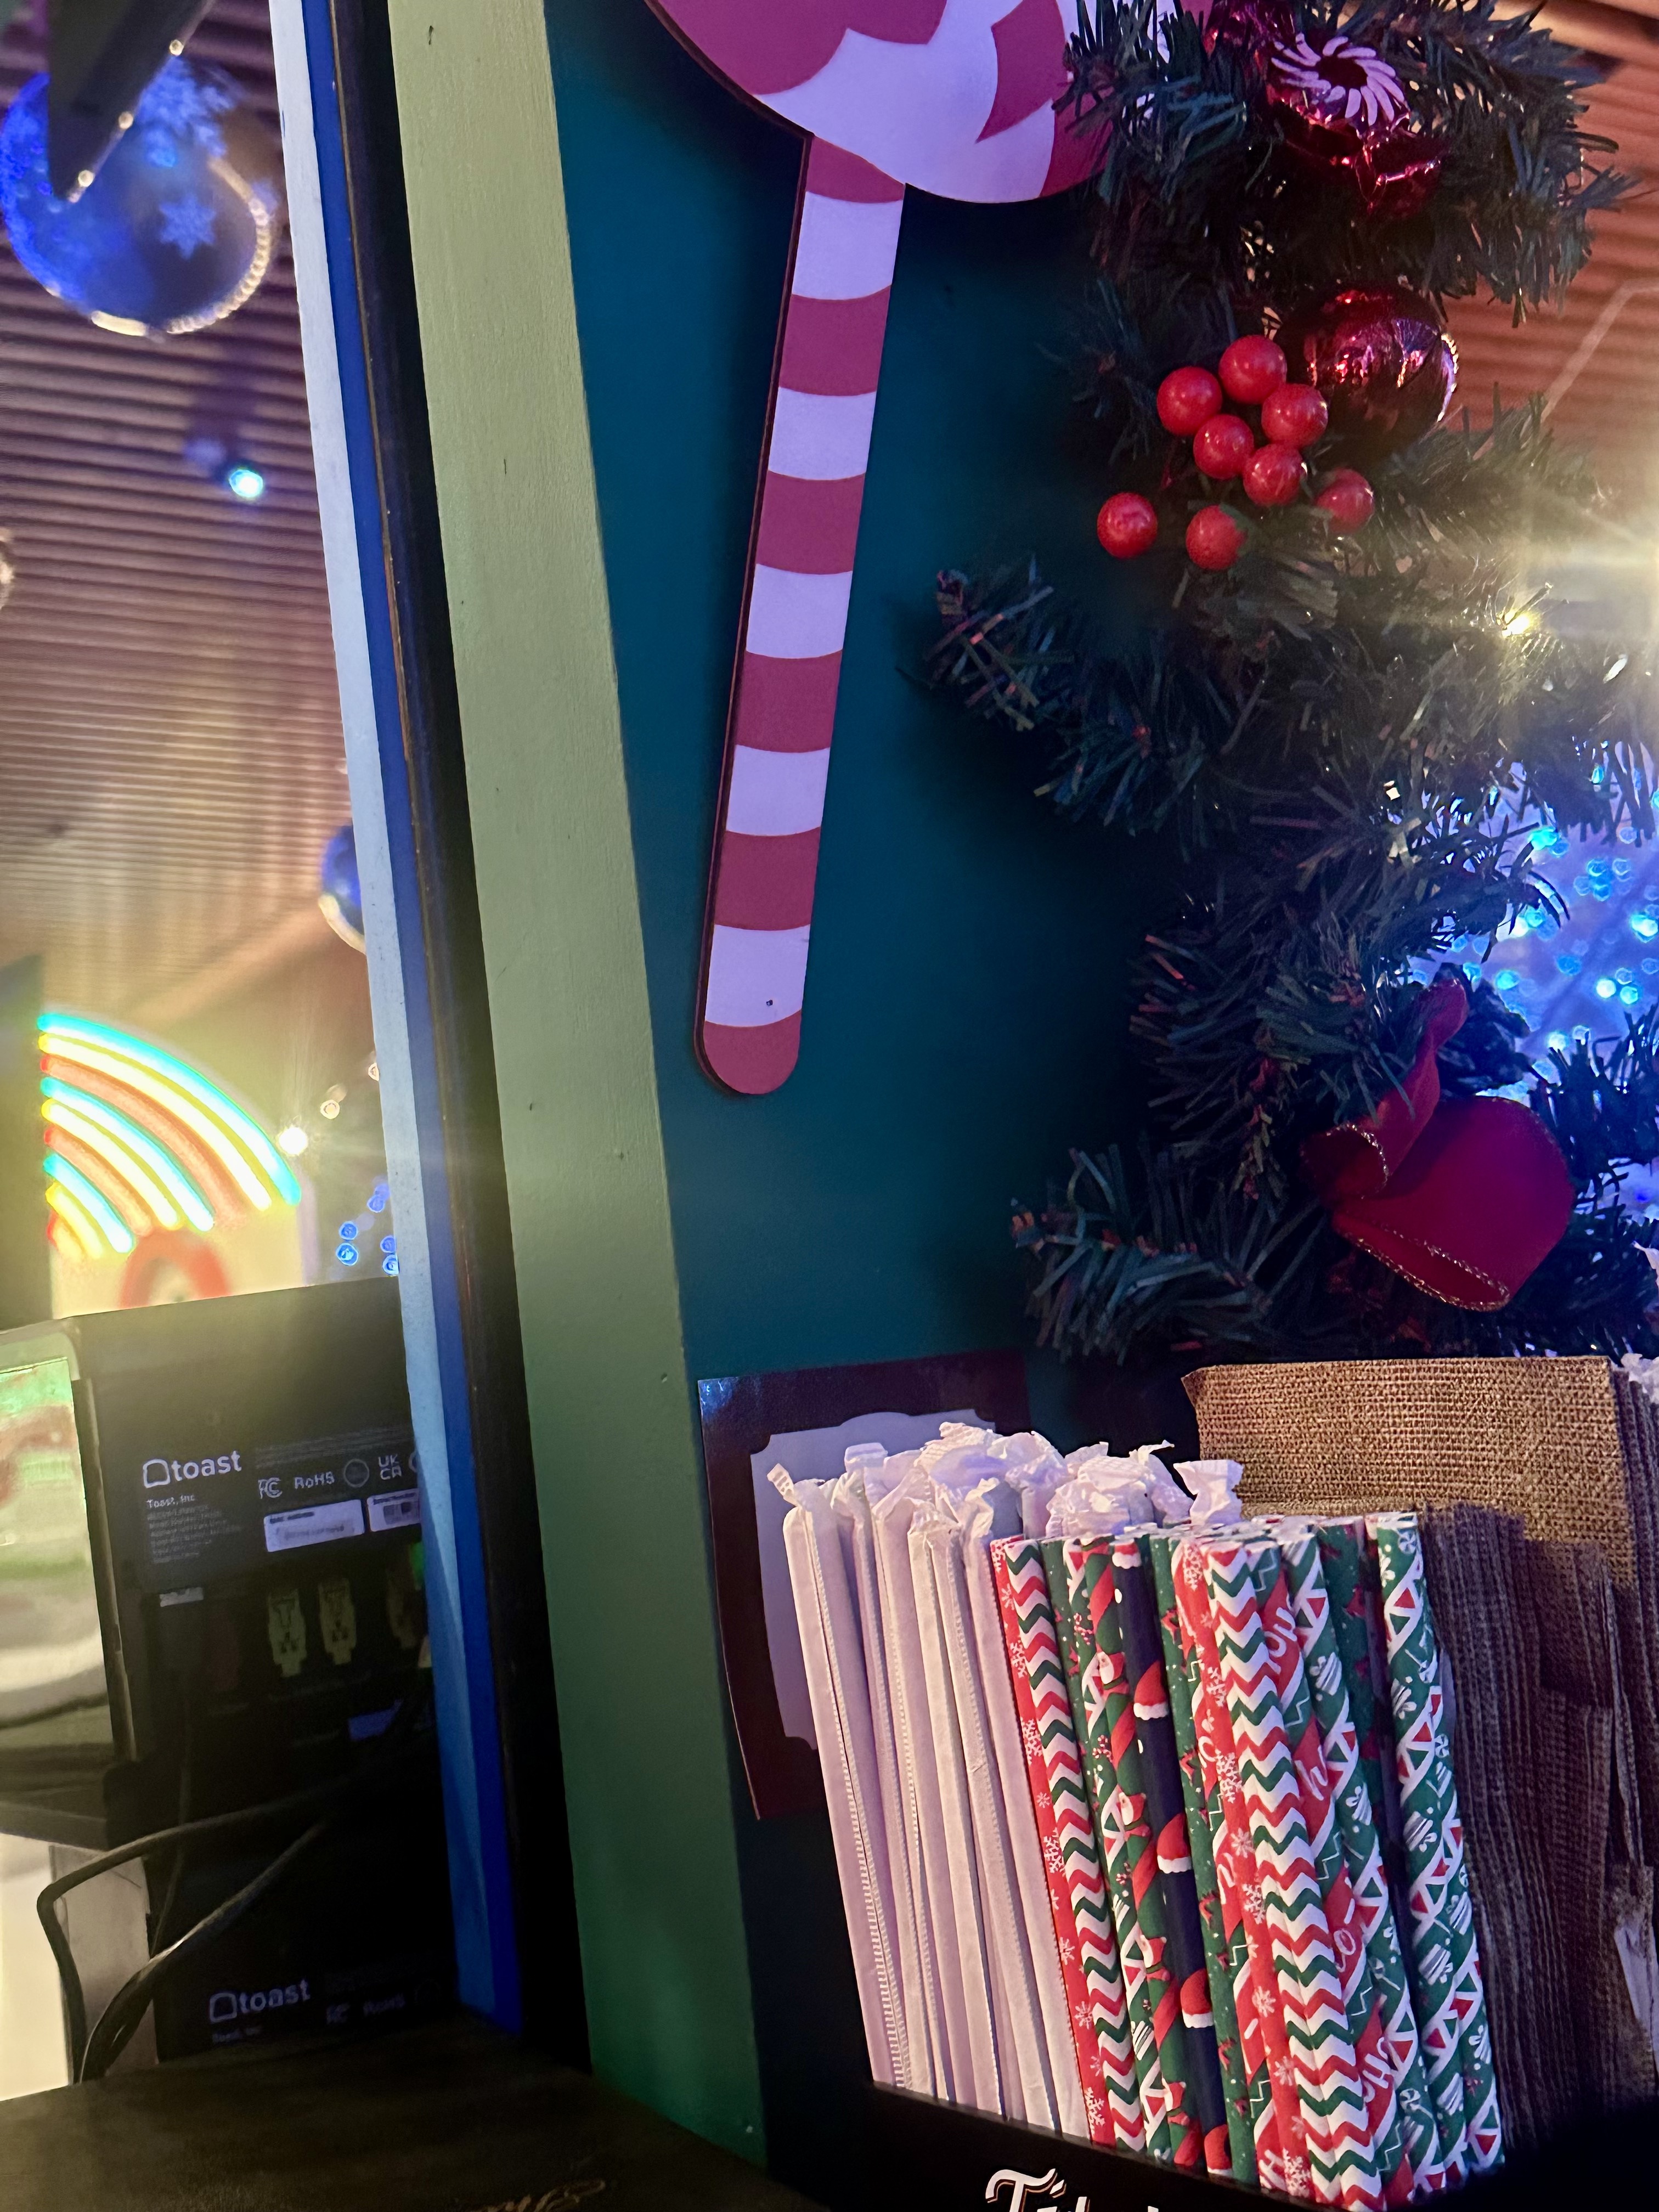
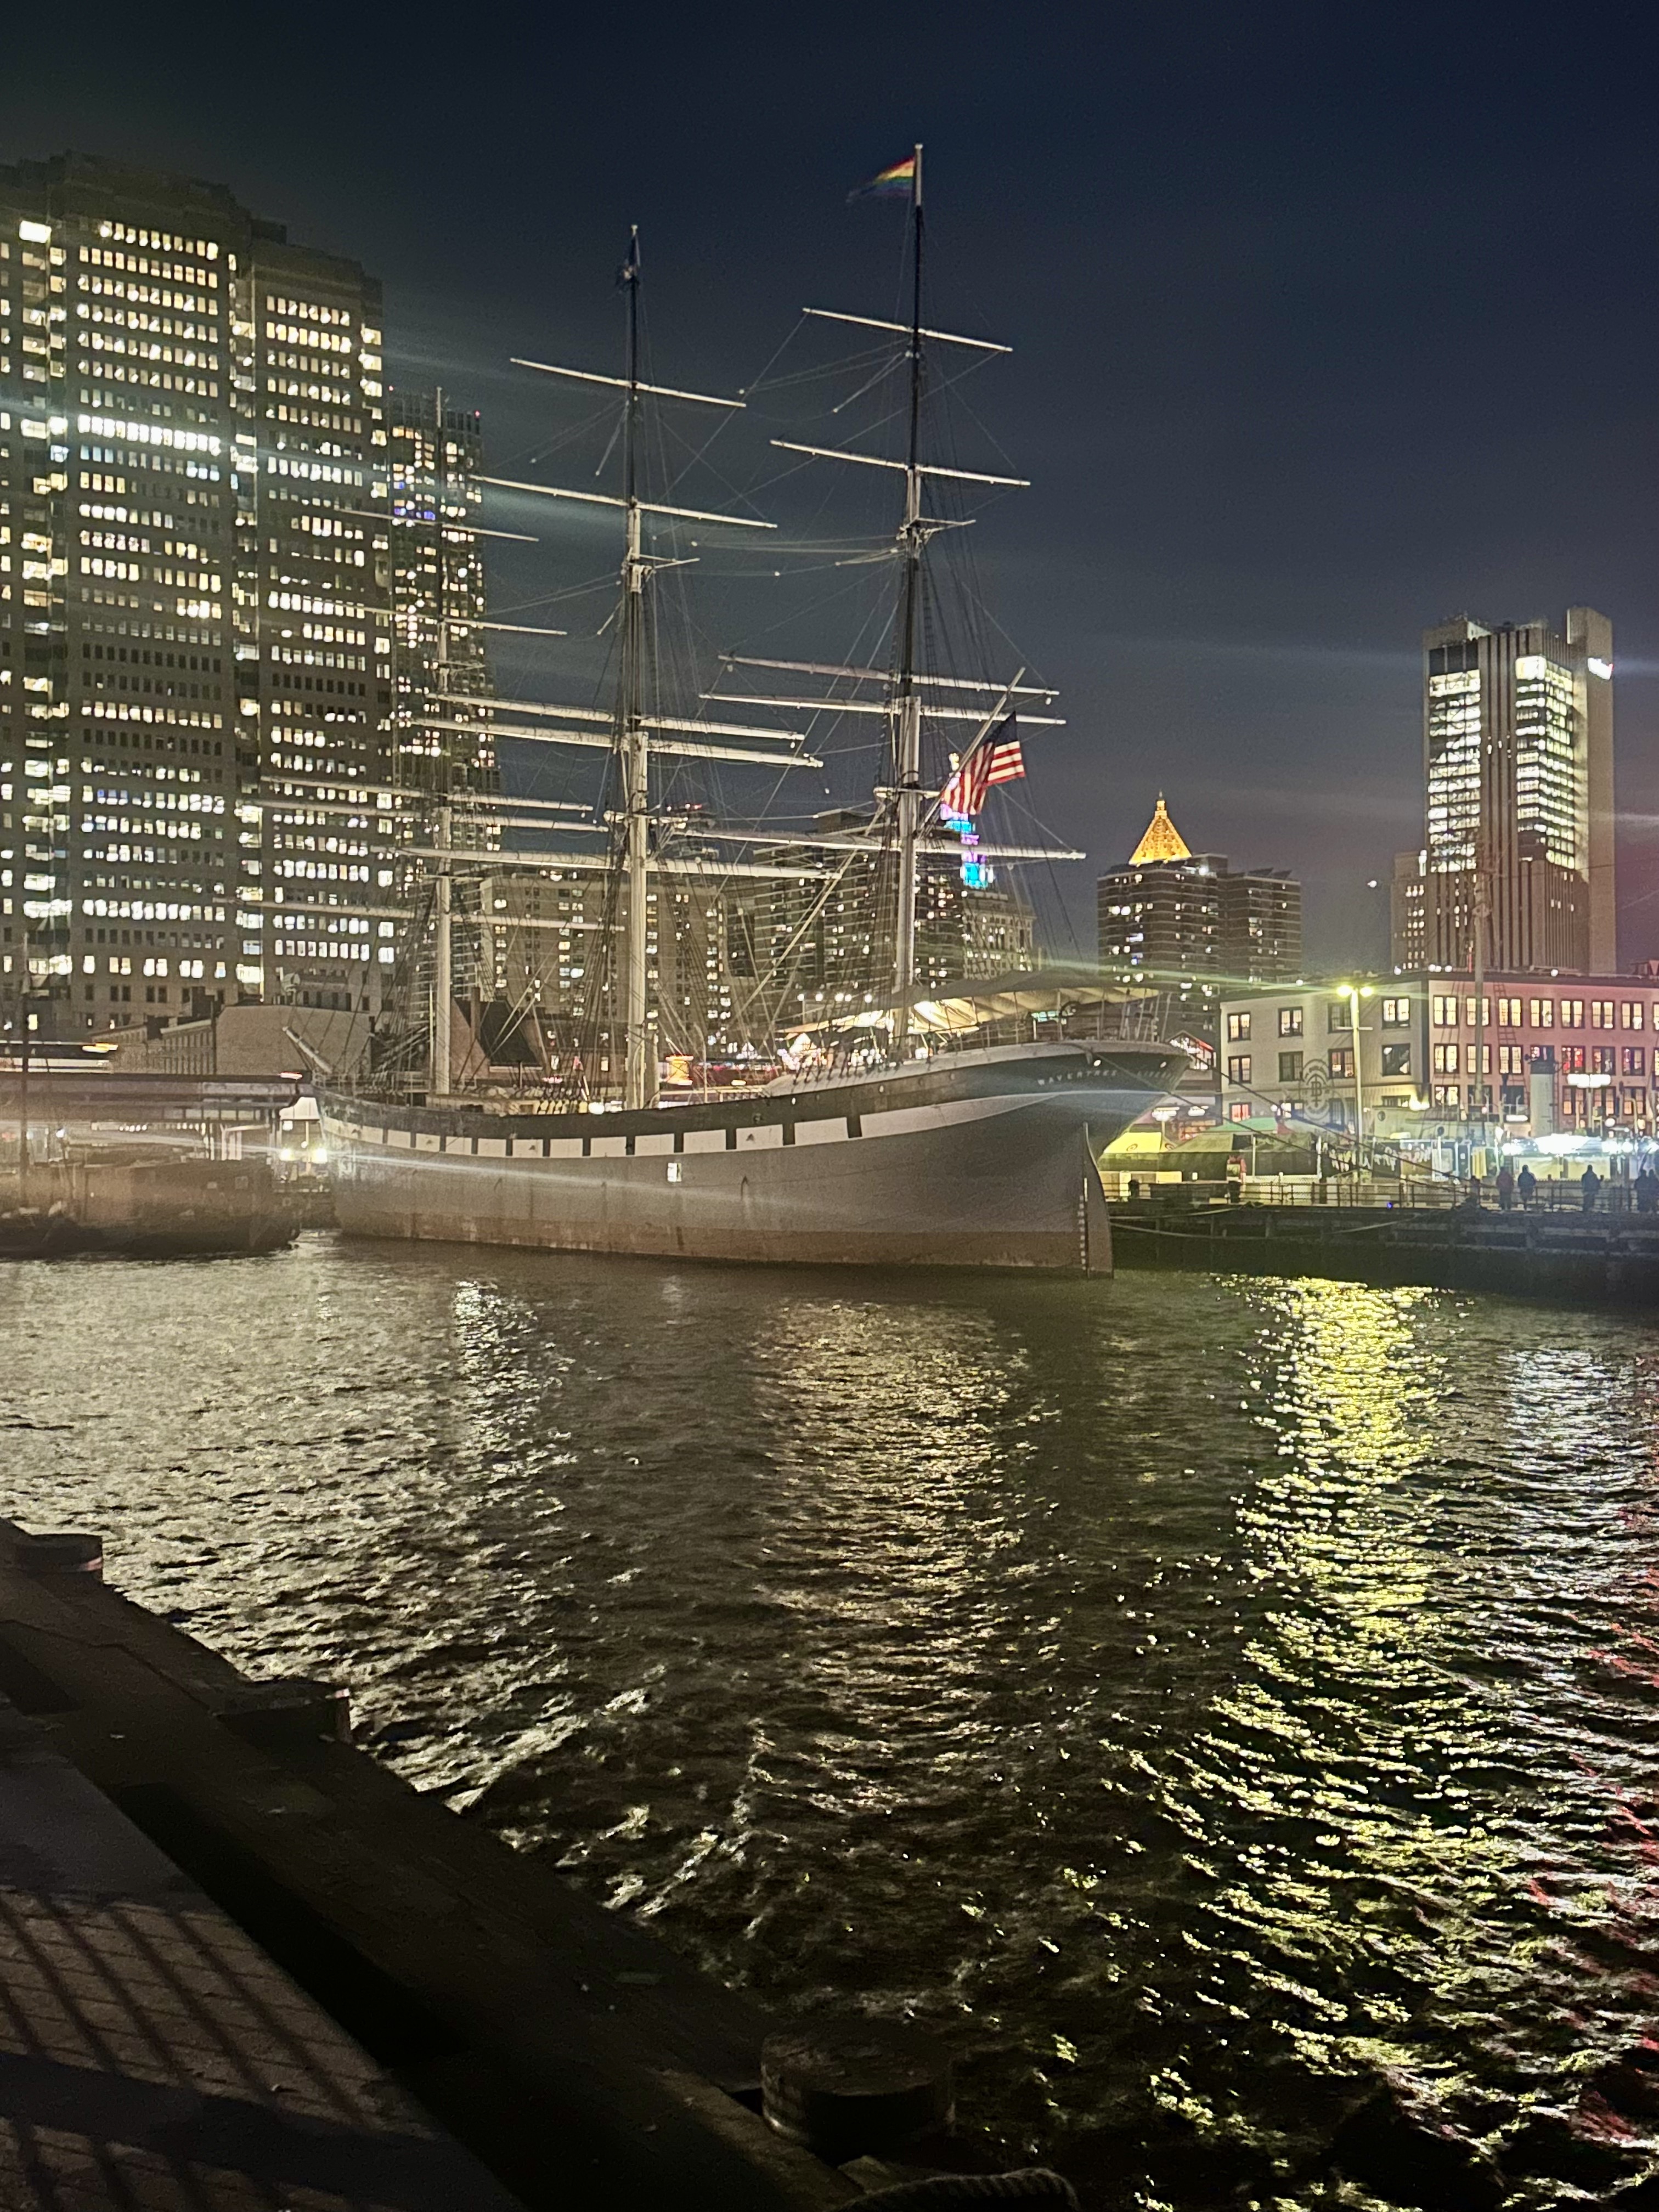
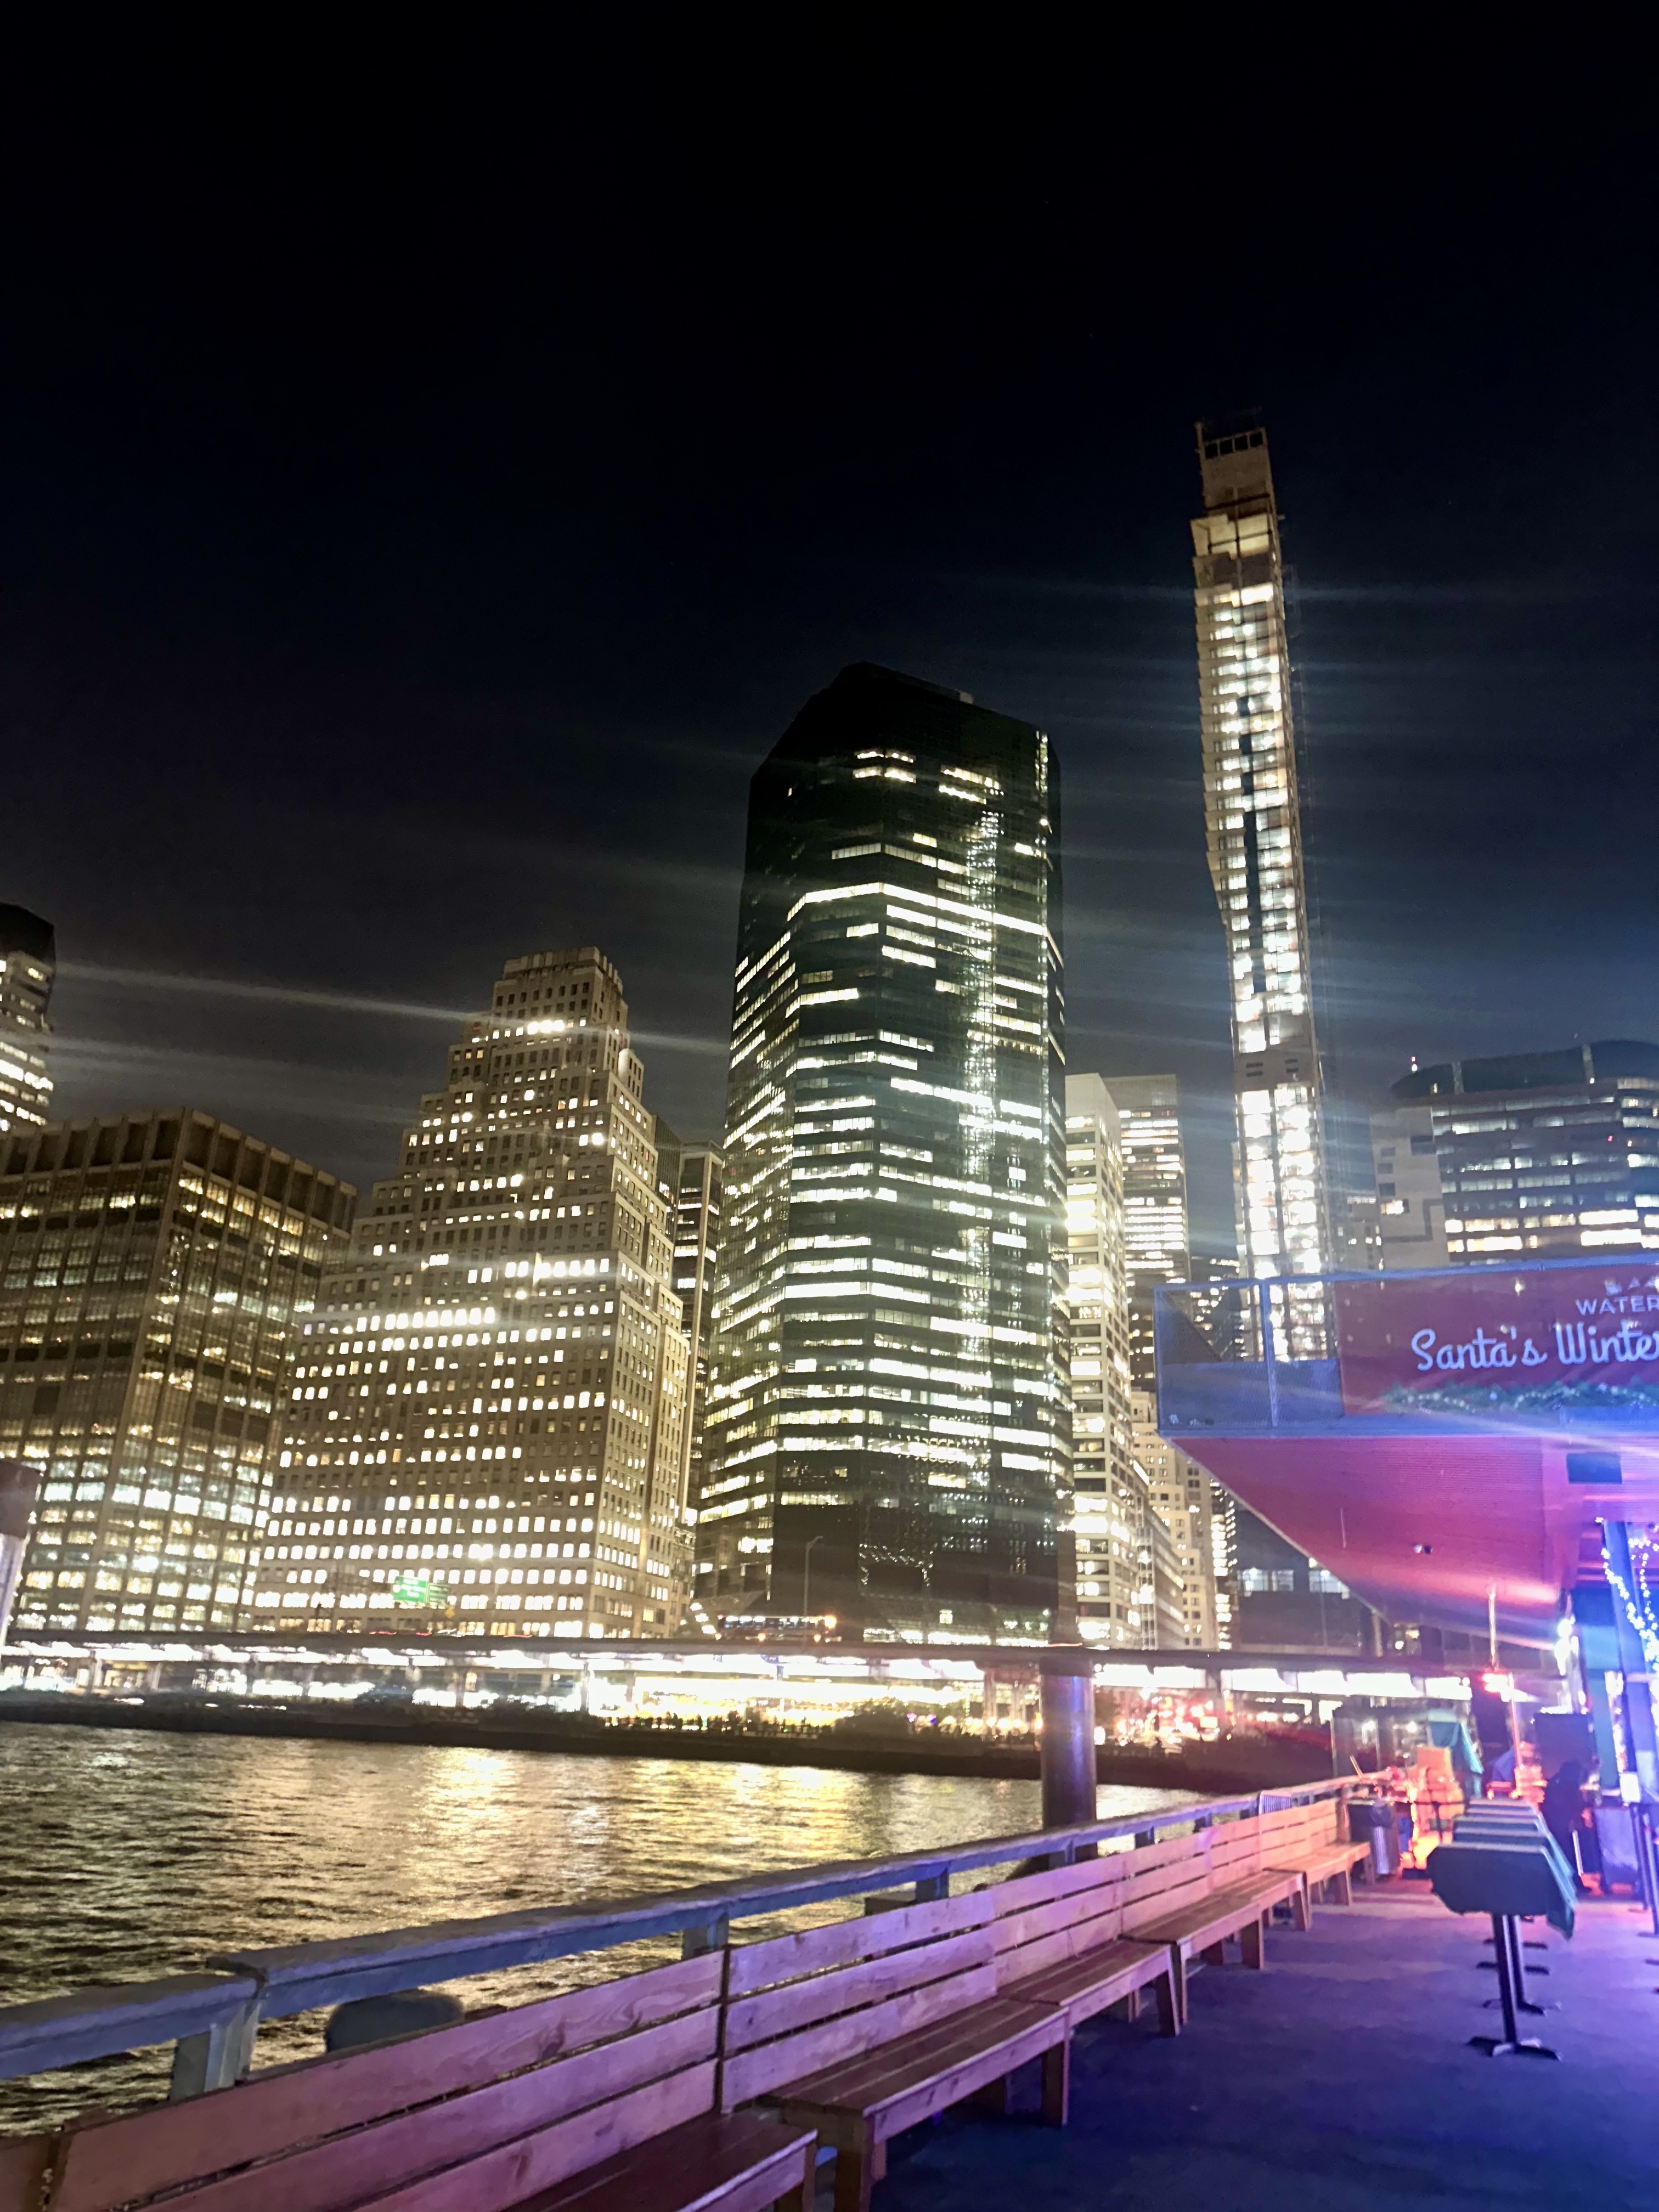
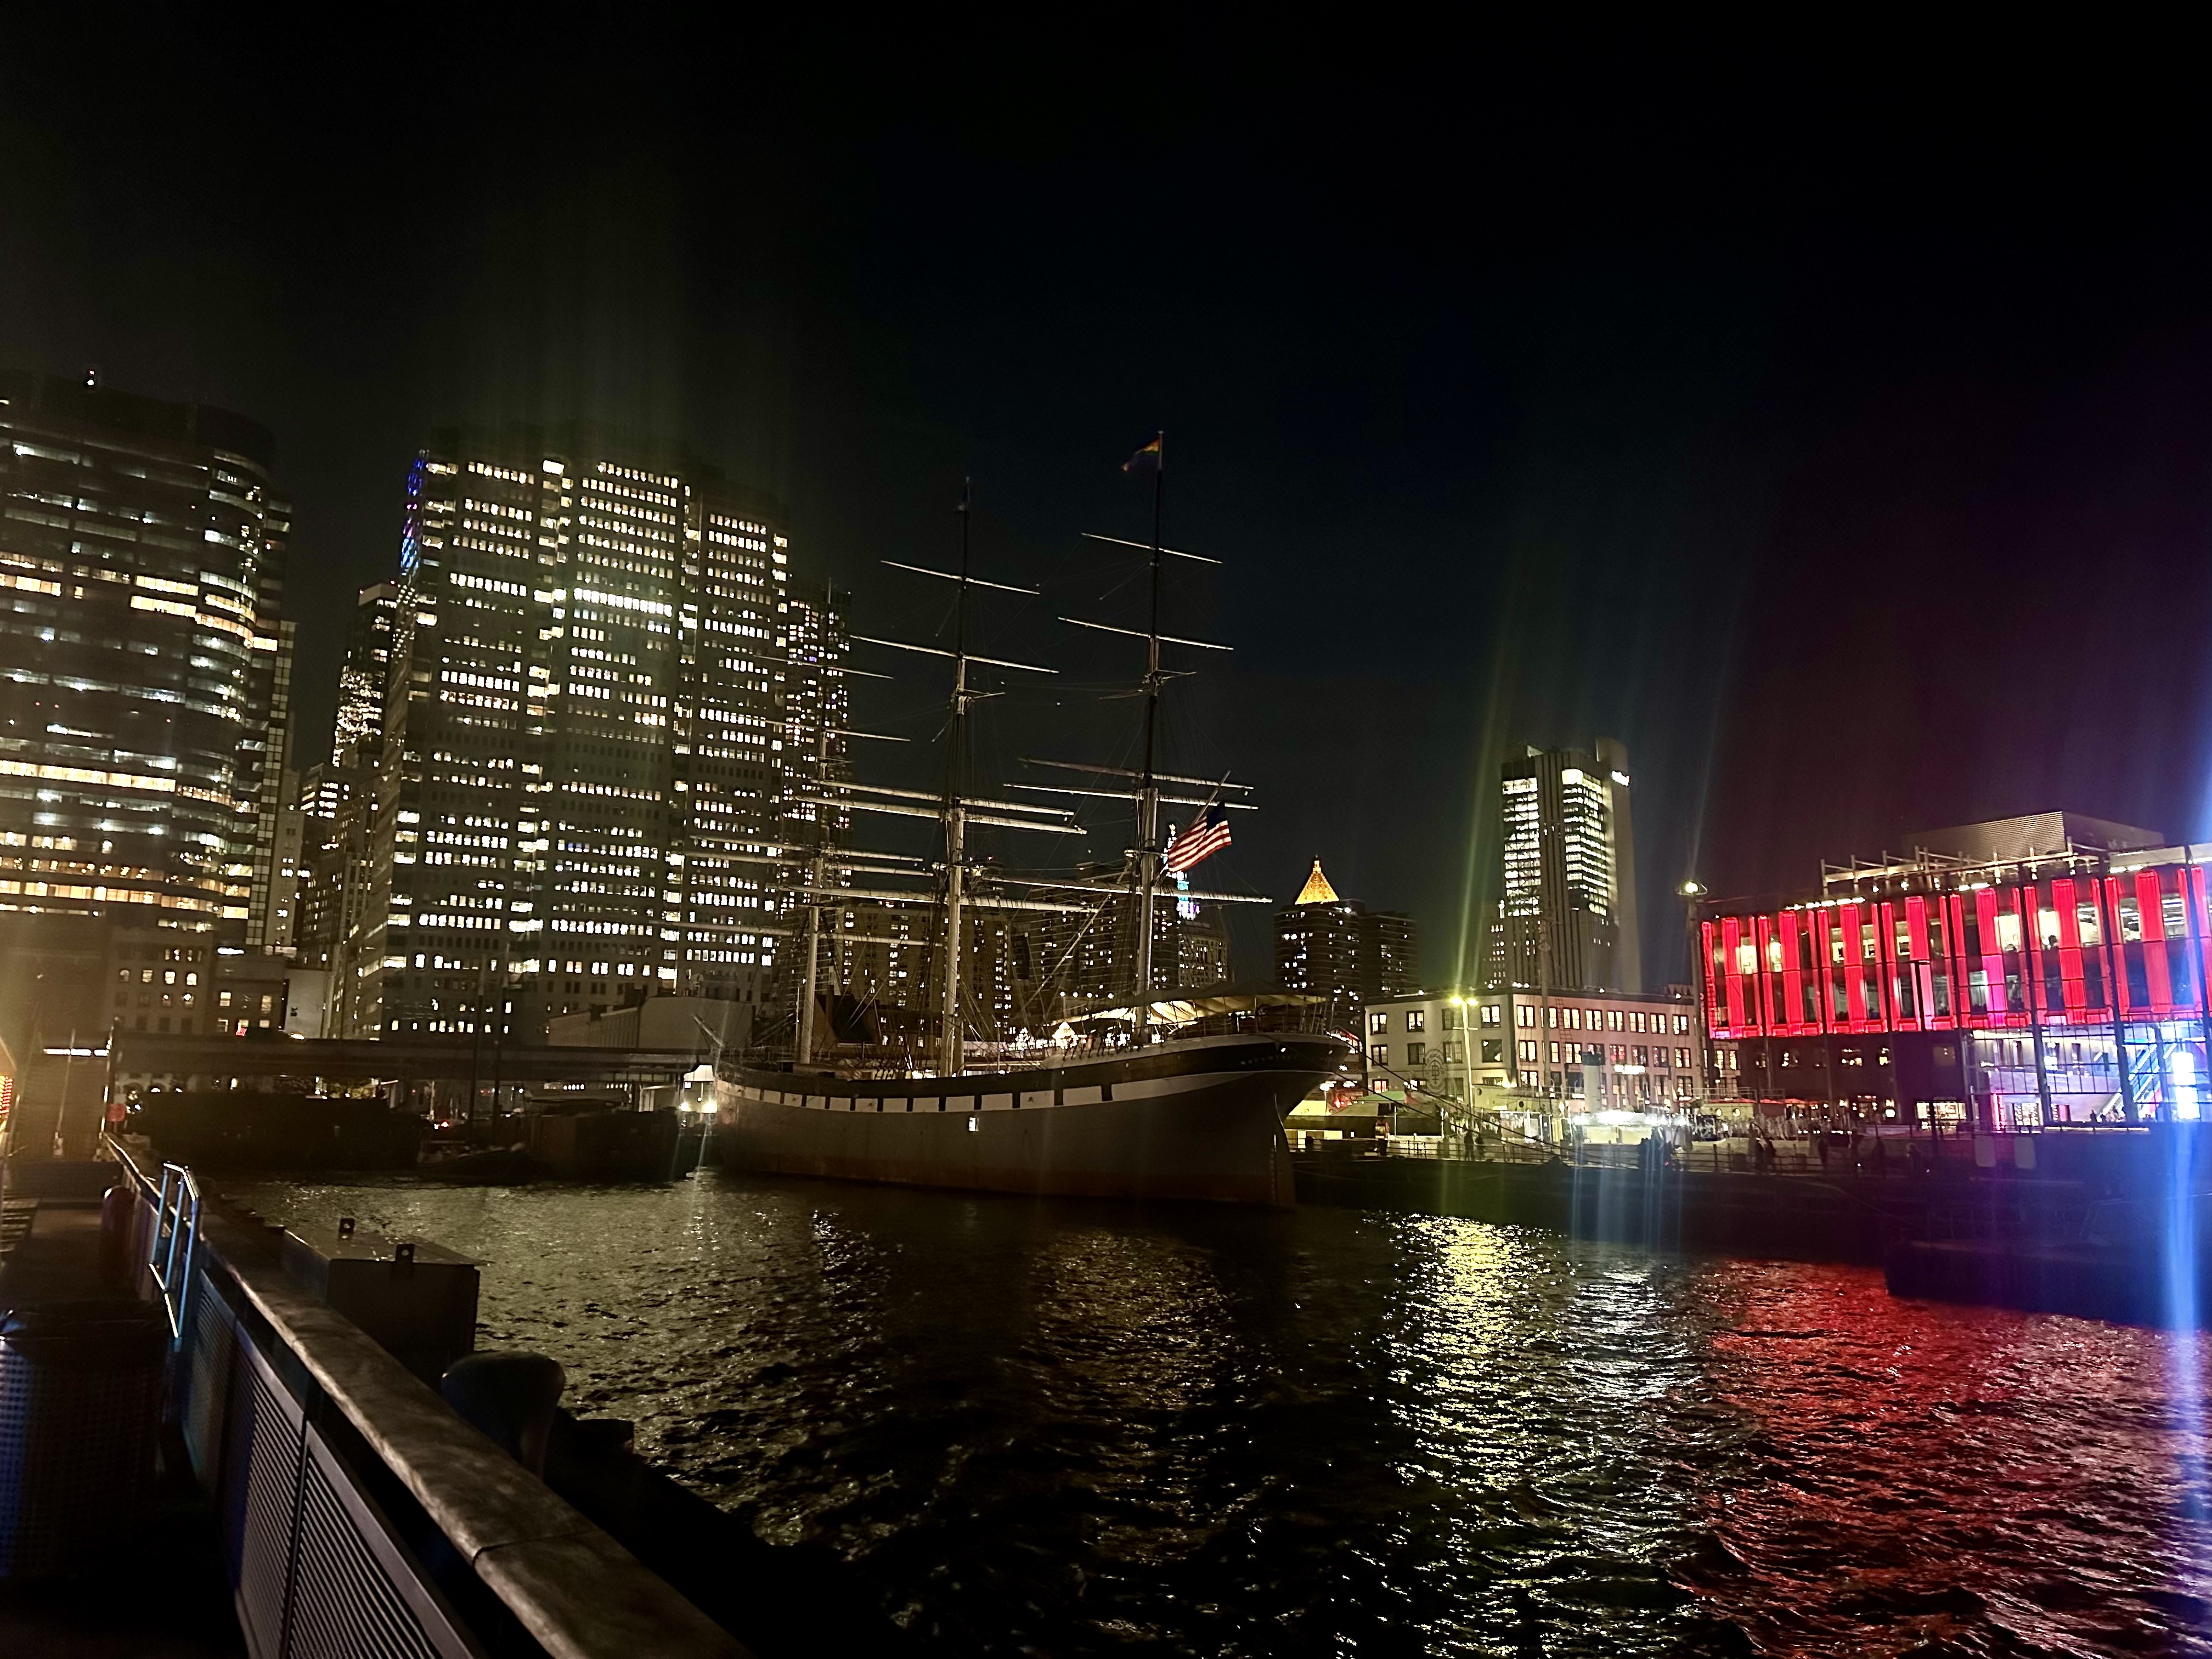
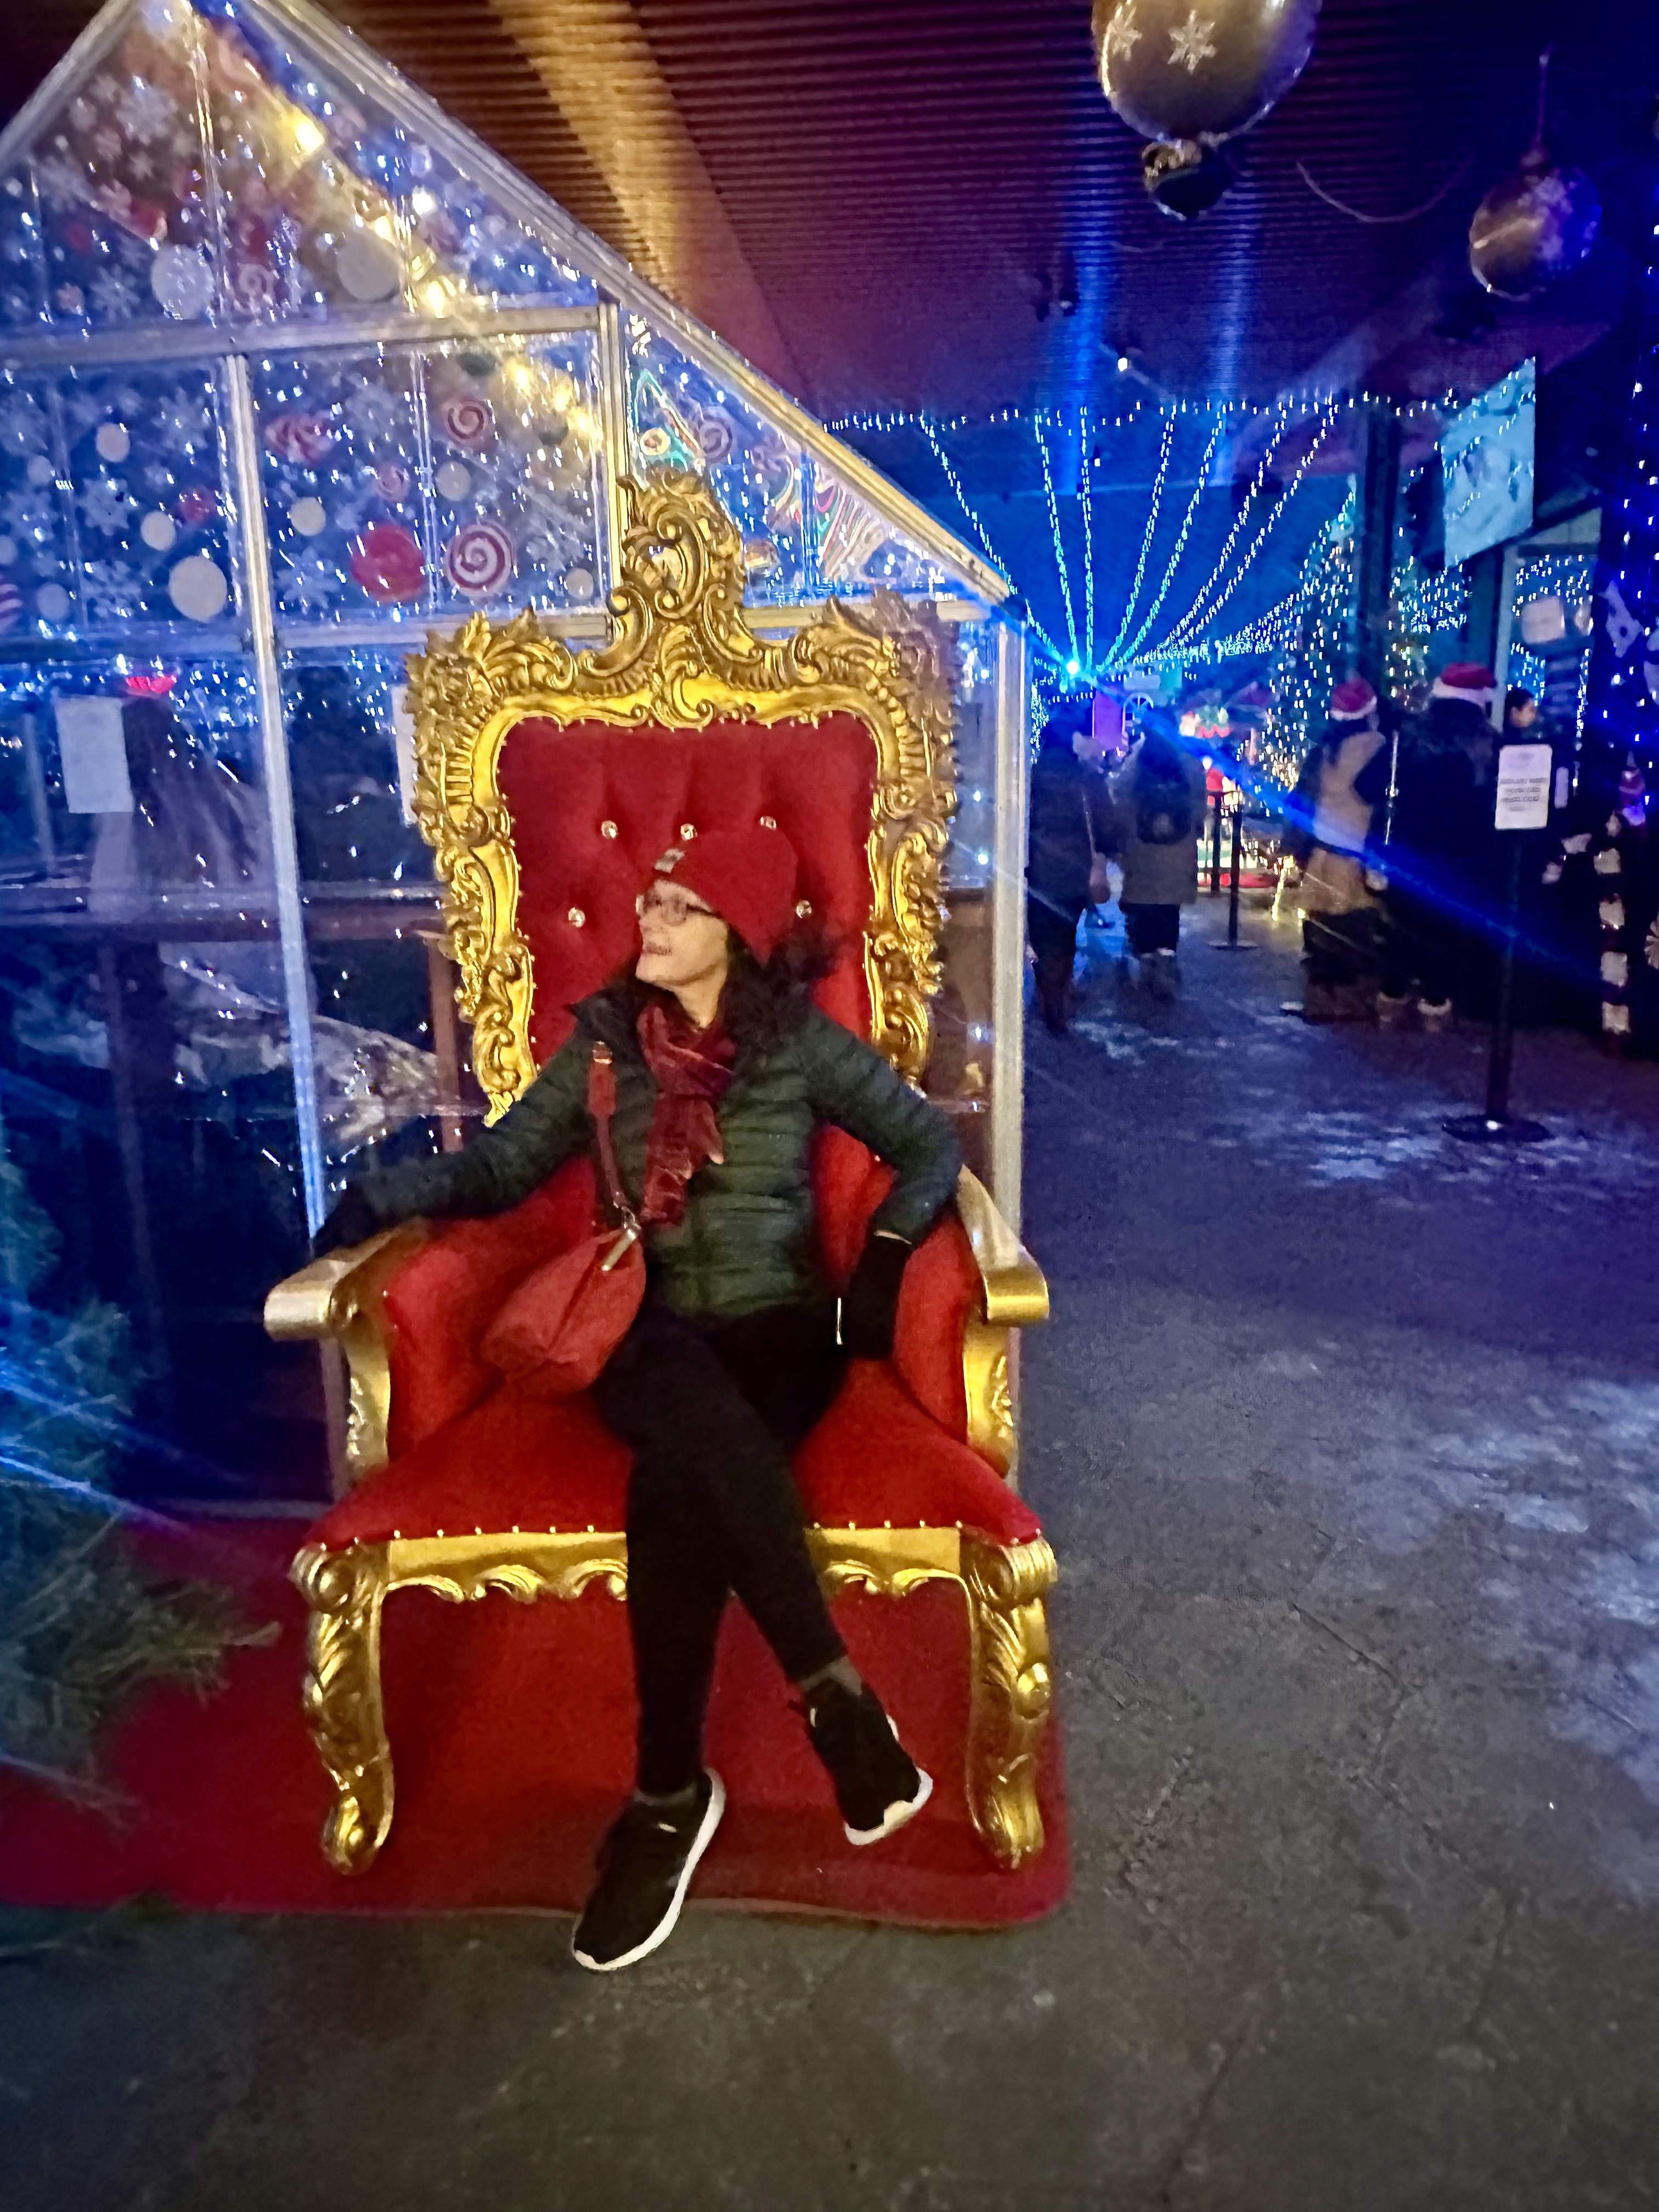
First, a new experience that I tried this year, Santa’s Winter Wonderland at Pier 15 in the South Street Seaport area. This is a fun experience that could work for a family with kids (there is Santa there for a visit with little or no line waiting, hot chocolate, snacks) or adults out for a fun evening (there are specialty cocktails, terrific views, etc).
This is a ticketed event, with timed entry. There is also an option for a sit-down meal at a specific time in an enclosed see-through hut, but I didn’t try that.
For general admission, you get a hot chocolate or hot cider, and a choice of snack (soft pretzel, chocolate chip cookie, or churro), and you can eat outside or in one inside dining area that has open seating (but was a little crowded when I was there).
For parents hoping for a Santa visit, I saw very little waiting time and plenty of interaction. I am sure adults could see Santa as well if they wanted!
The decor was festive, and the views around lower Manhattan, the South Street Seaport, and the Brooklyn Bridge were all terrific. You could purchase a s’mores kit and roast the marshmallows over a fire.
Interestingly, there is a rival Santa experience right next door at Pier 17, Disney’s The Santa Clauses’ Winter Wonderland! More expensive, but also more elaborate, this experience has a synthetic ice skating rink as one of the possible activities. Santa is also available for a visit and photos, but on specific dates and times, so if that is important be sure to check that out before purchasing timed tickets.
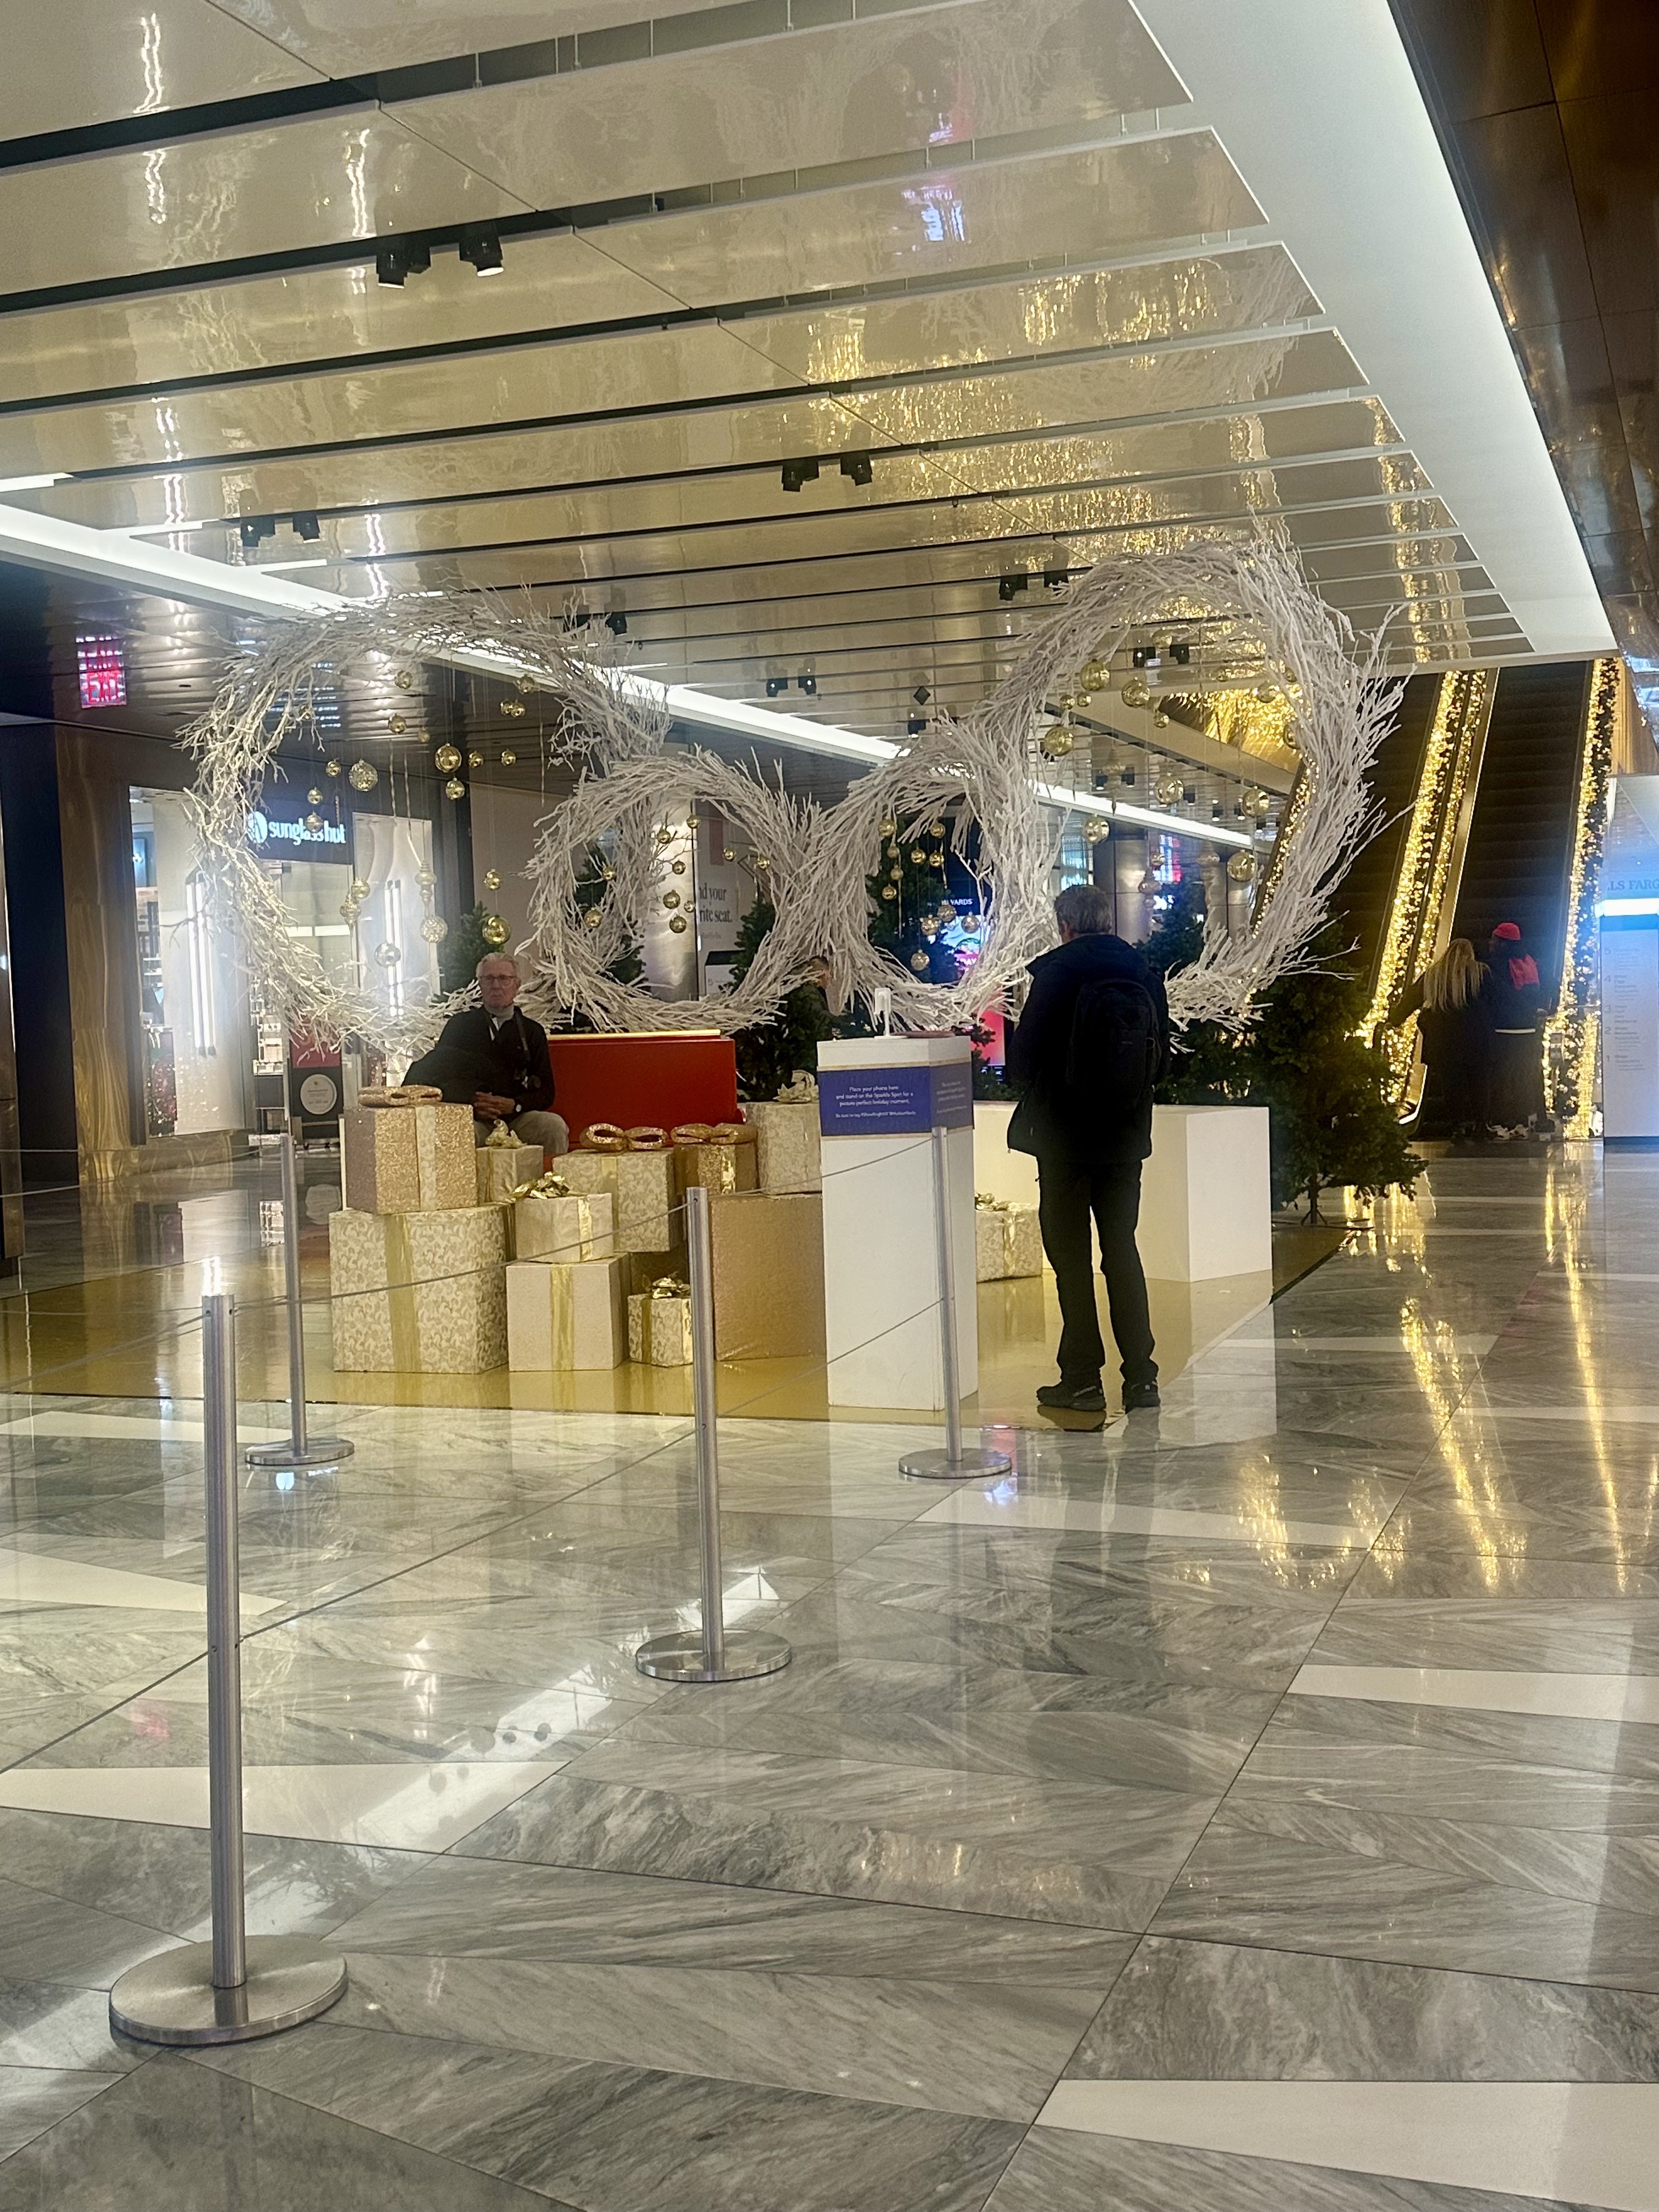
Not all Santa experiences cost money (although many might cost time!). Hudson Yards is decorated fabulously for the holidays and has signs up saying when Santa is available, free of charge. I haven’t been there during those times, but the place where Santa is looks like a lovely photo opportunity. Hudson Yards has also set up “twinkle spots” all over the building for you to set up your phone to get a photo of yourself with all the holiday lights.
Winter Village at Bryant Park has the best holiday market in the world (and I agree with this recent ranking) and Santa is there for free photo opportunities, see his schedule here. Bloomingdale’s also has an opportunity to meet Santa, reservations required, and a $25 booking fee is involved but you get it back in the form of a $25 gift certificate. The time for this has passed this year but if interested in future years the information about booking was here.
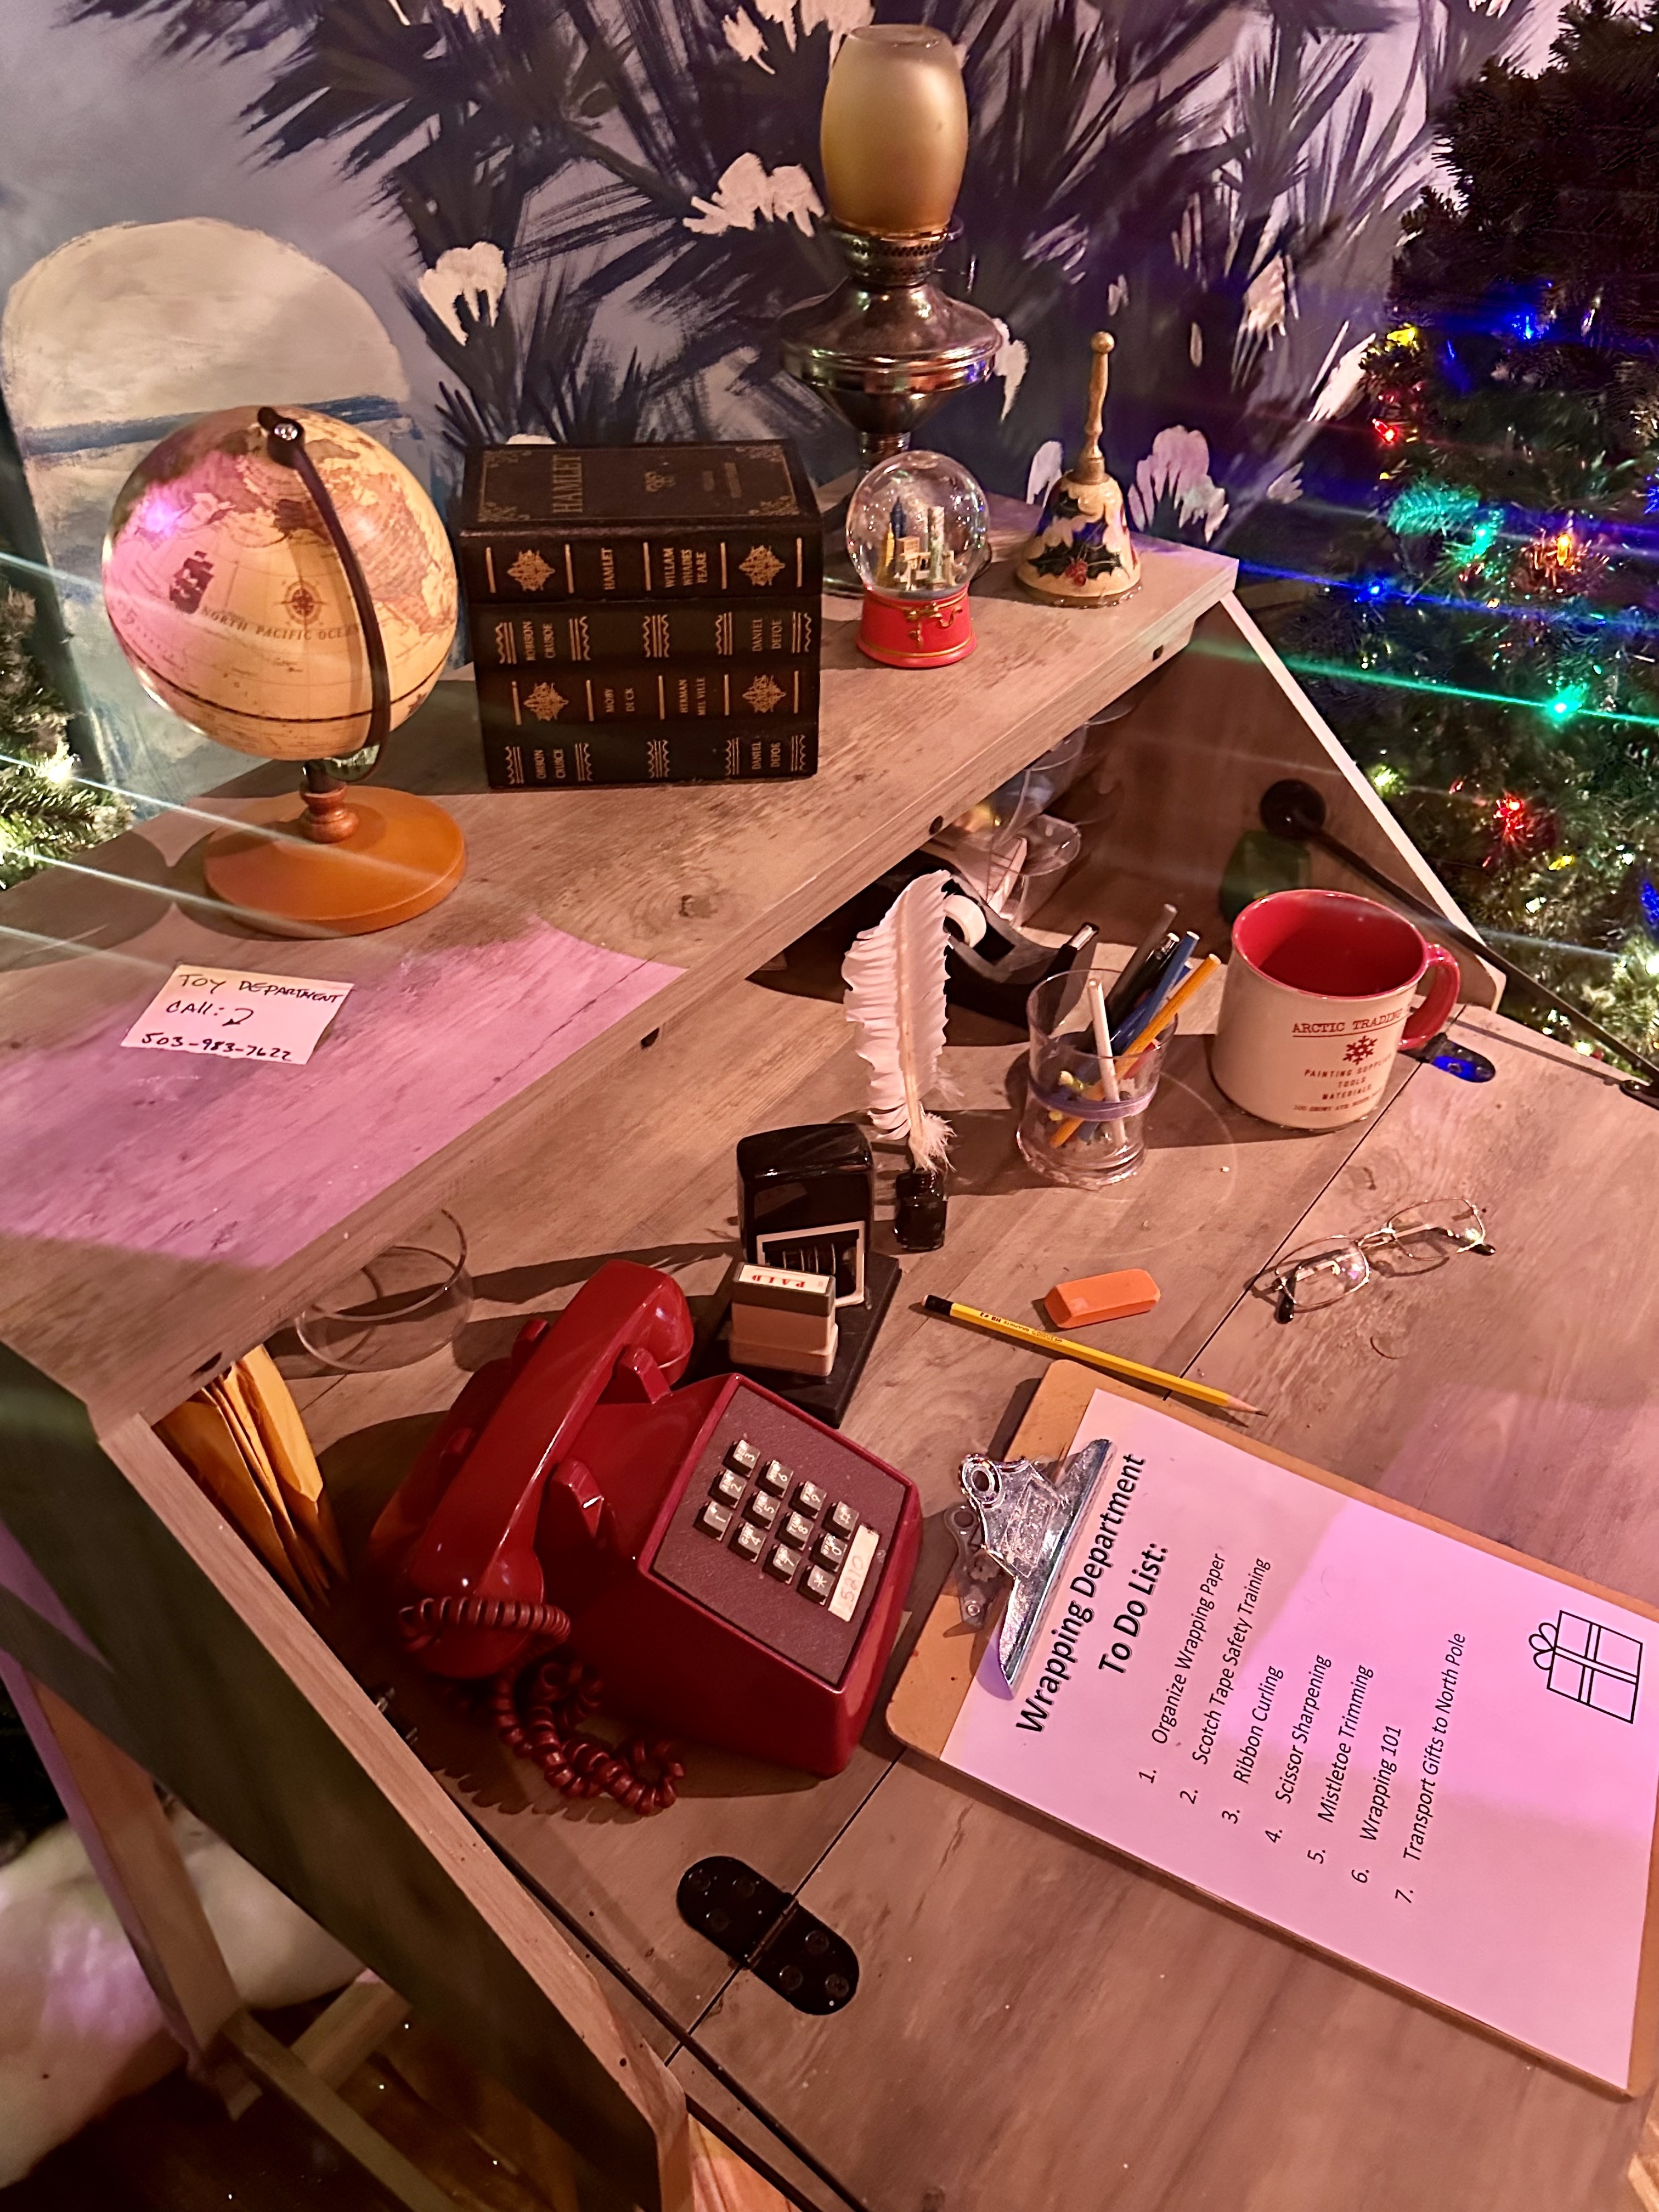
Finally the ultimate – visiting the “real” Santa at Santaland at Macy’s. The procedure now is via reservation only, and the reservations open up five days in advance. In my experience, they go very quickly. There is no entering the line without a reservation, but the reservation does not prevent you from waiting on a line. When I went this year, on a Saturday in early December, in the afternoon, we waited 90 minutes to see Santa! Some of the time was spent in the delightfully decorated line inside Santaland, but a fair amount was spent in a line in a hallway that wrapped back behind the entrance to Santaland. When I have gone before on a weekday, the experience has not been this difficult, but of course most people need to work during the week, making the weekends extremely busy.
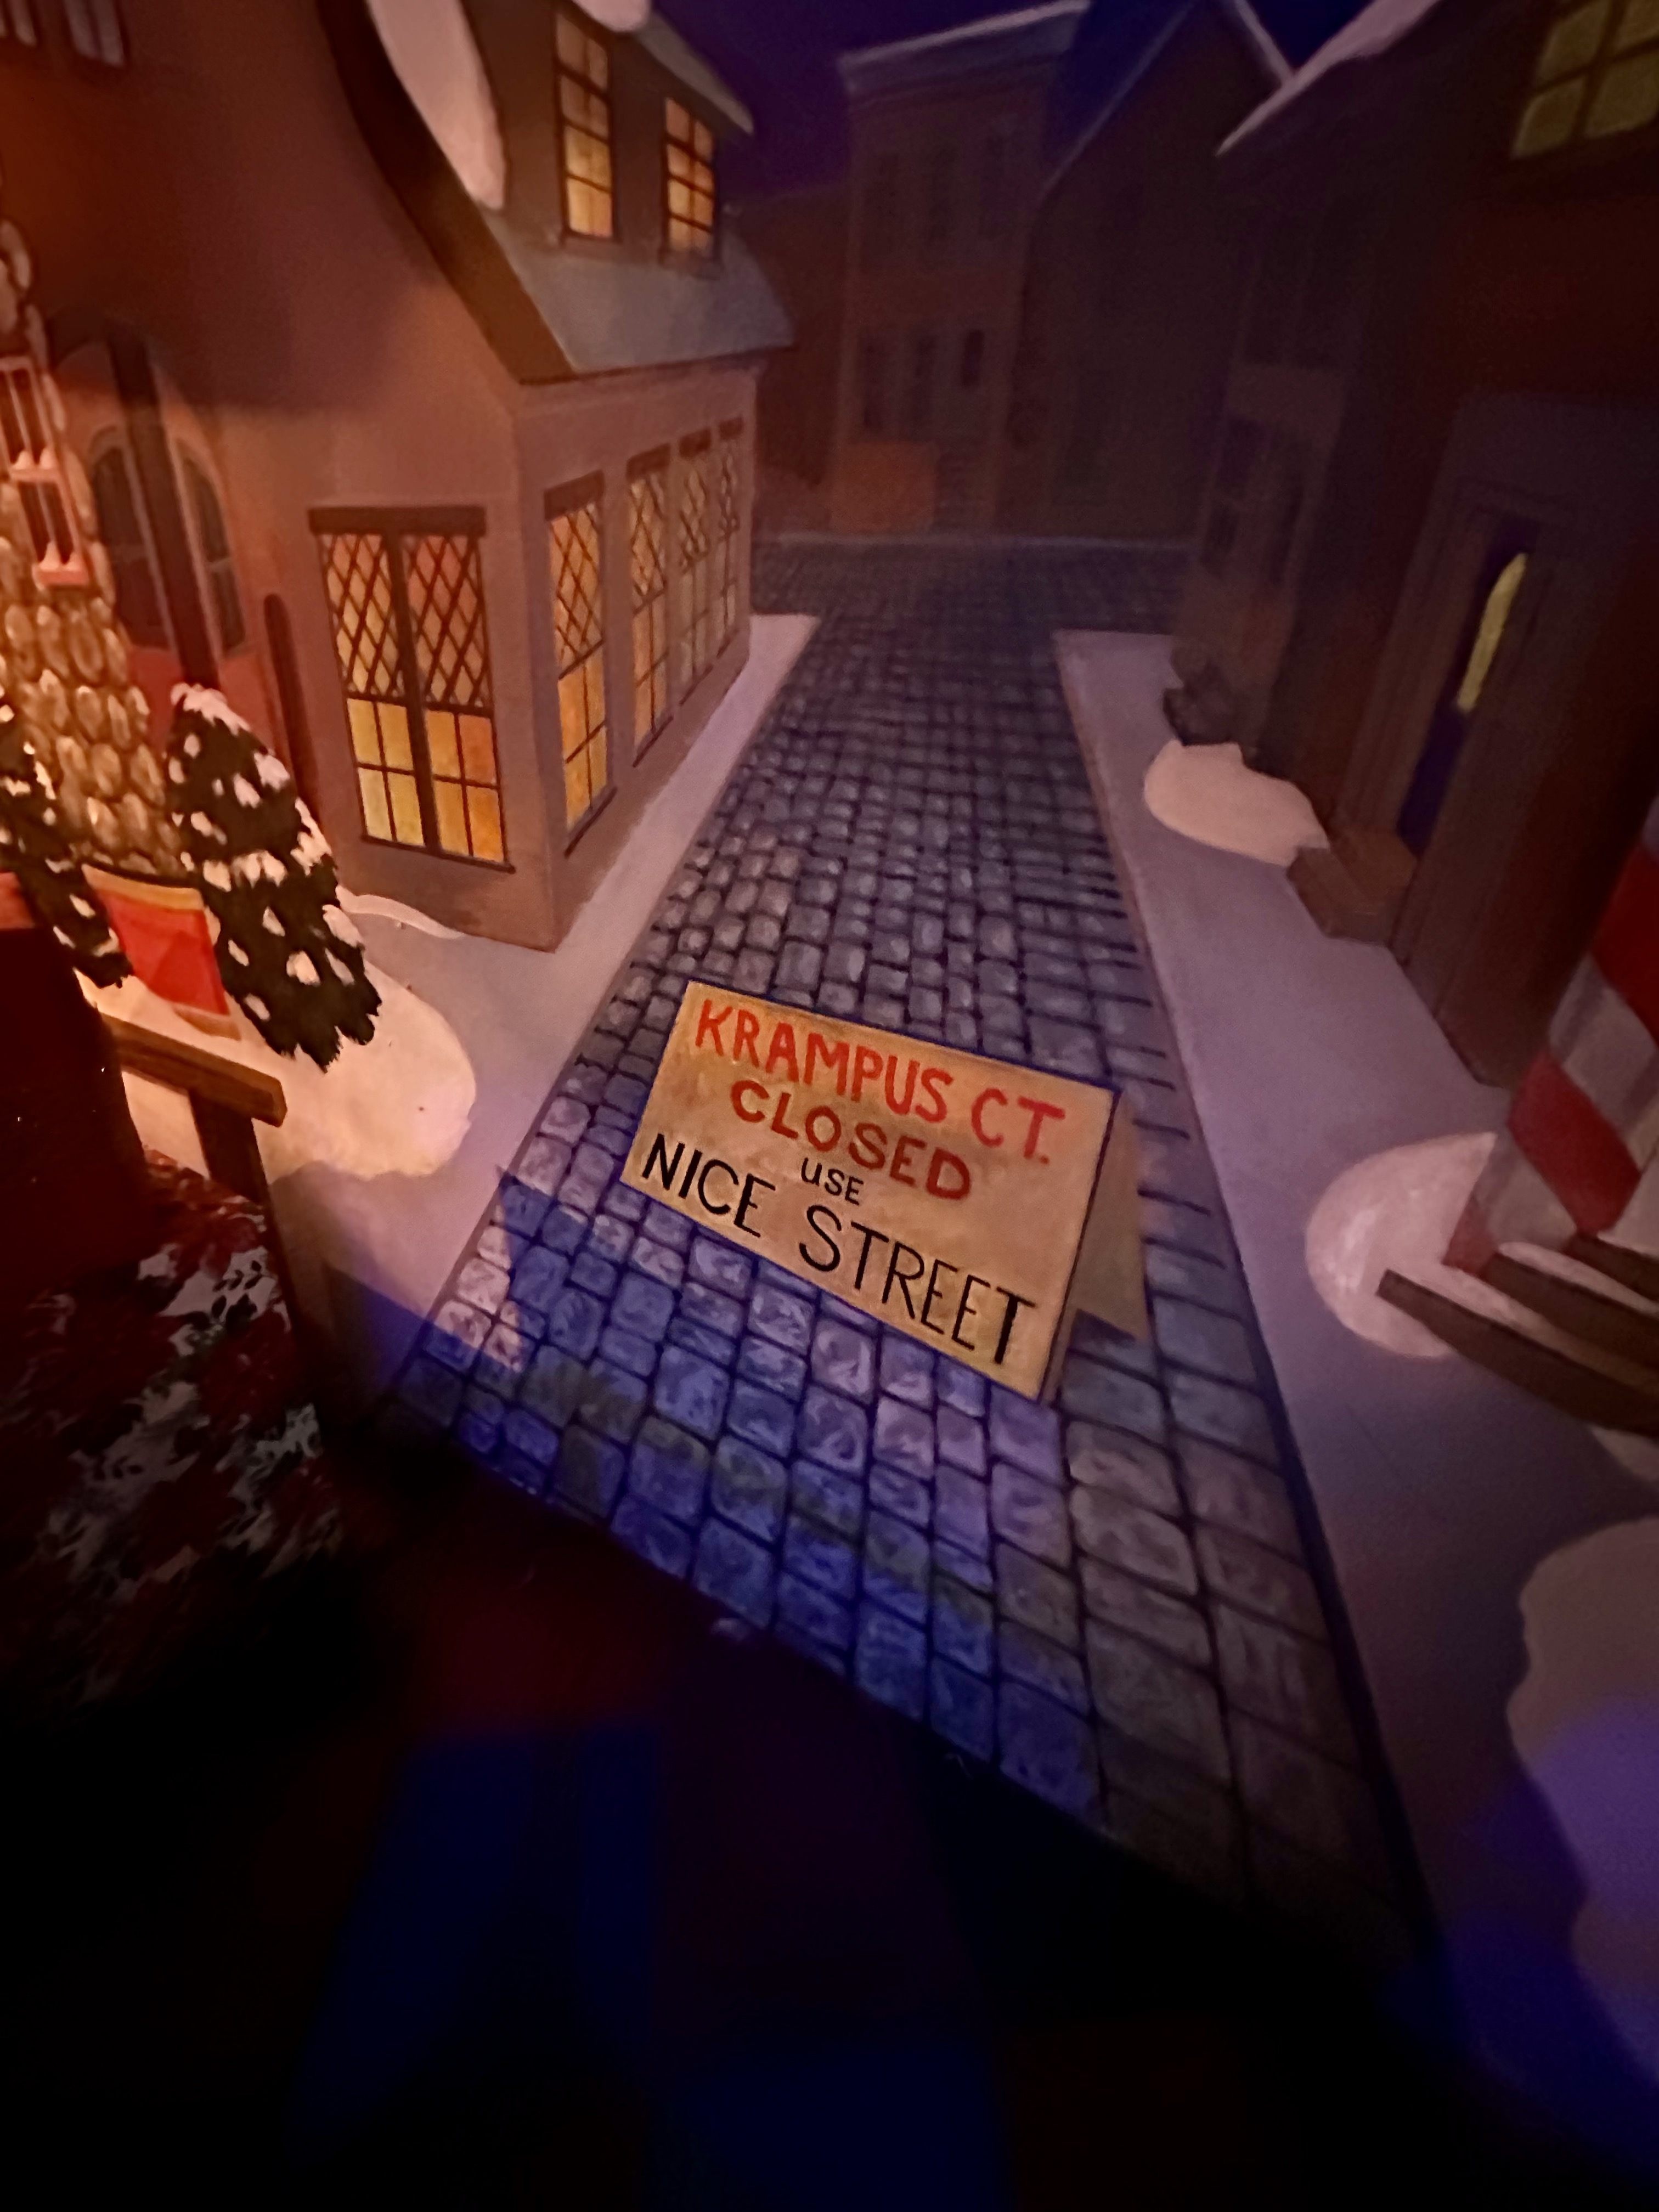
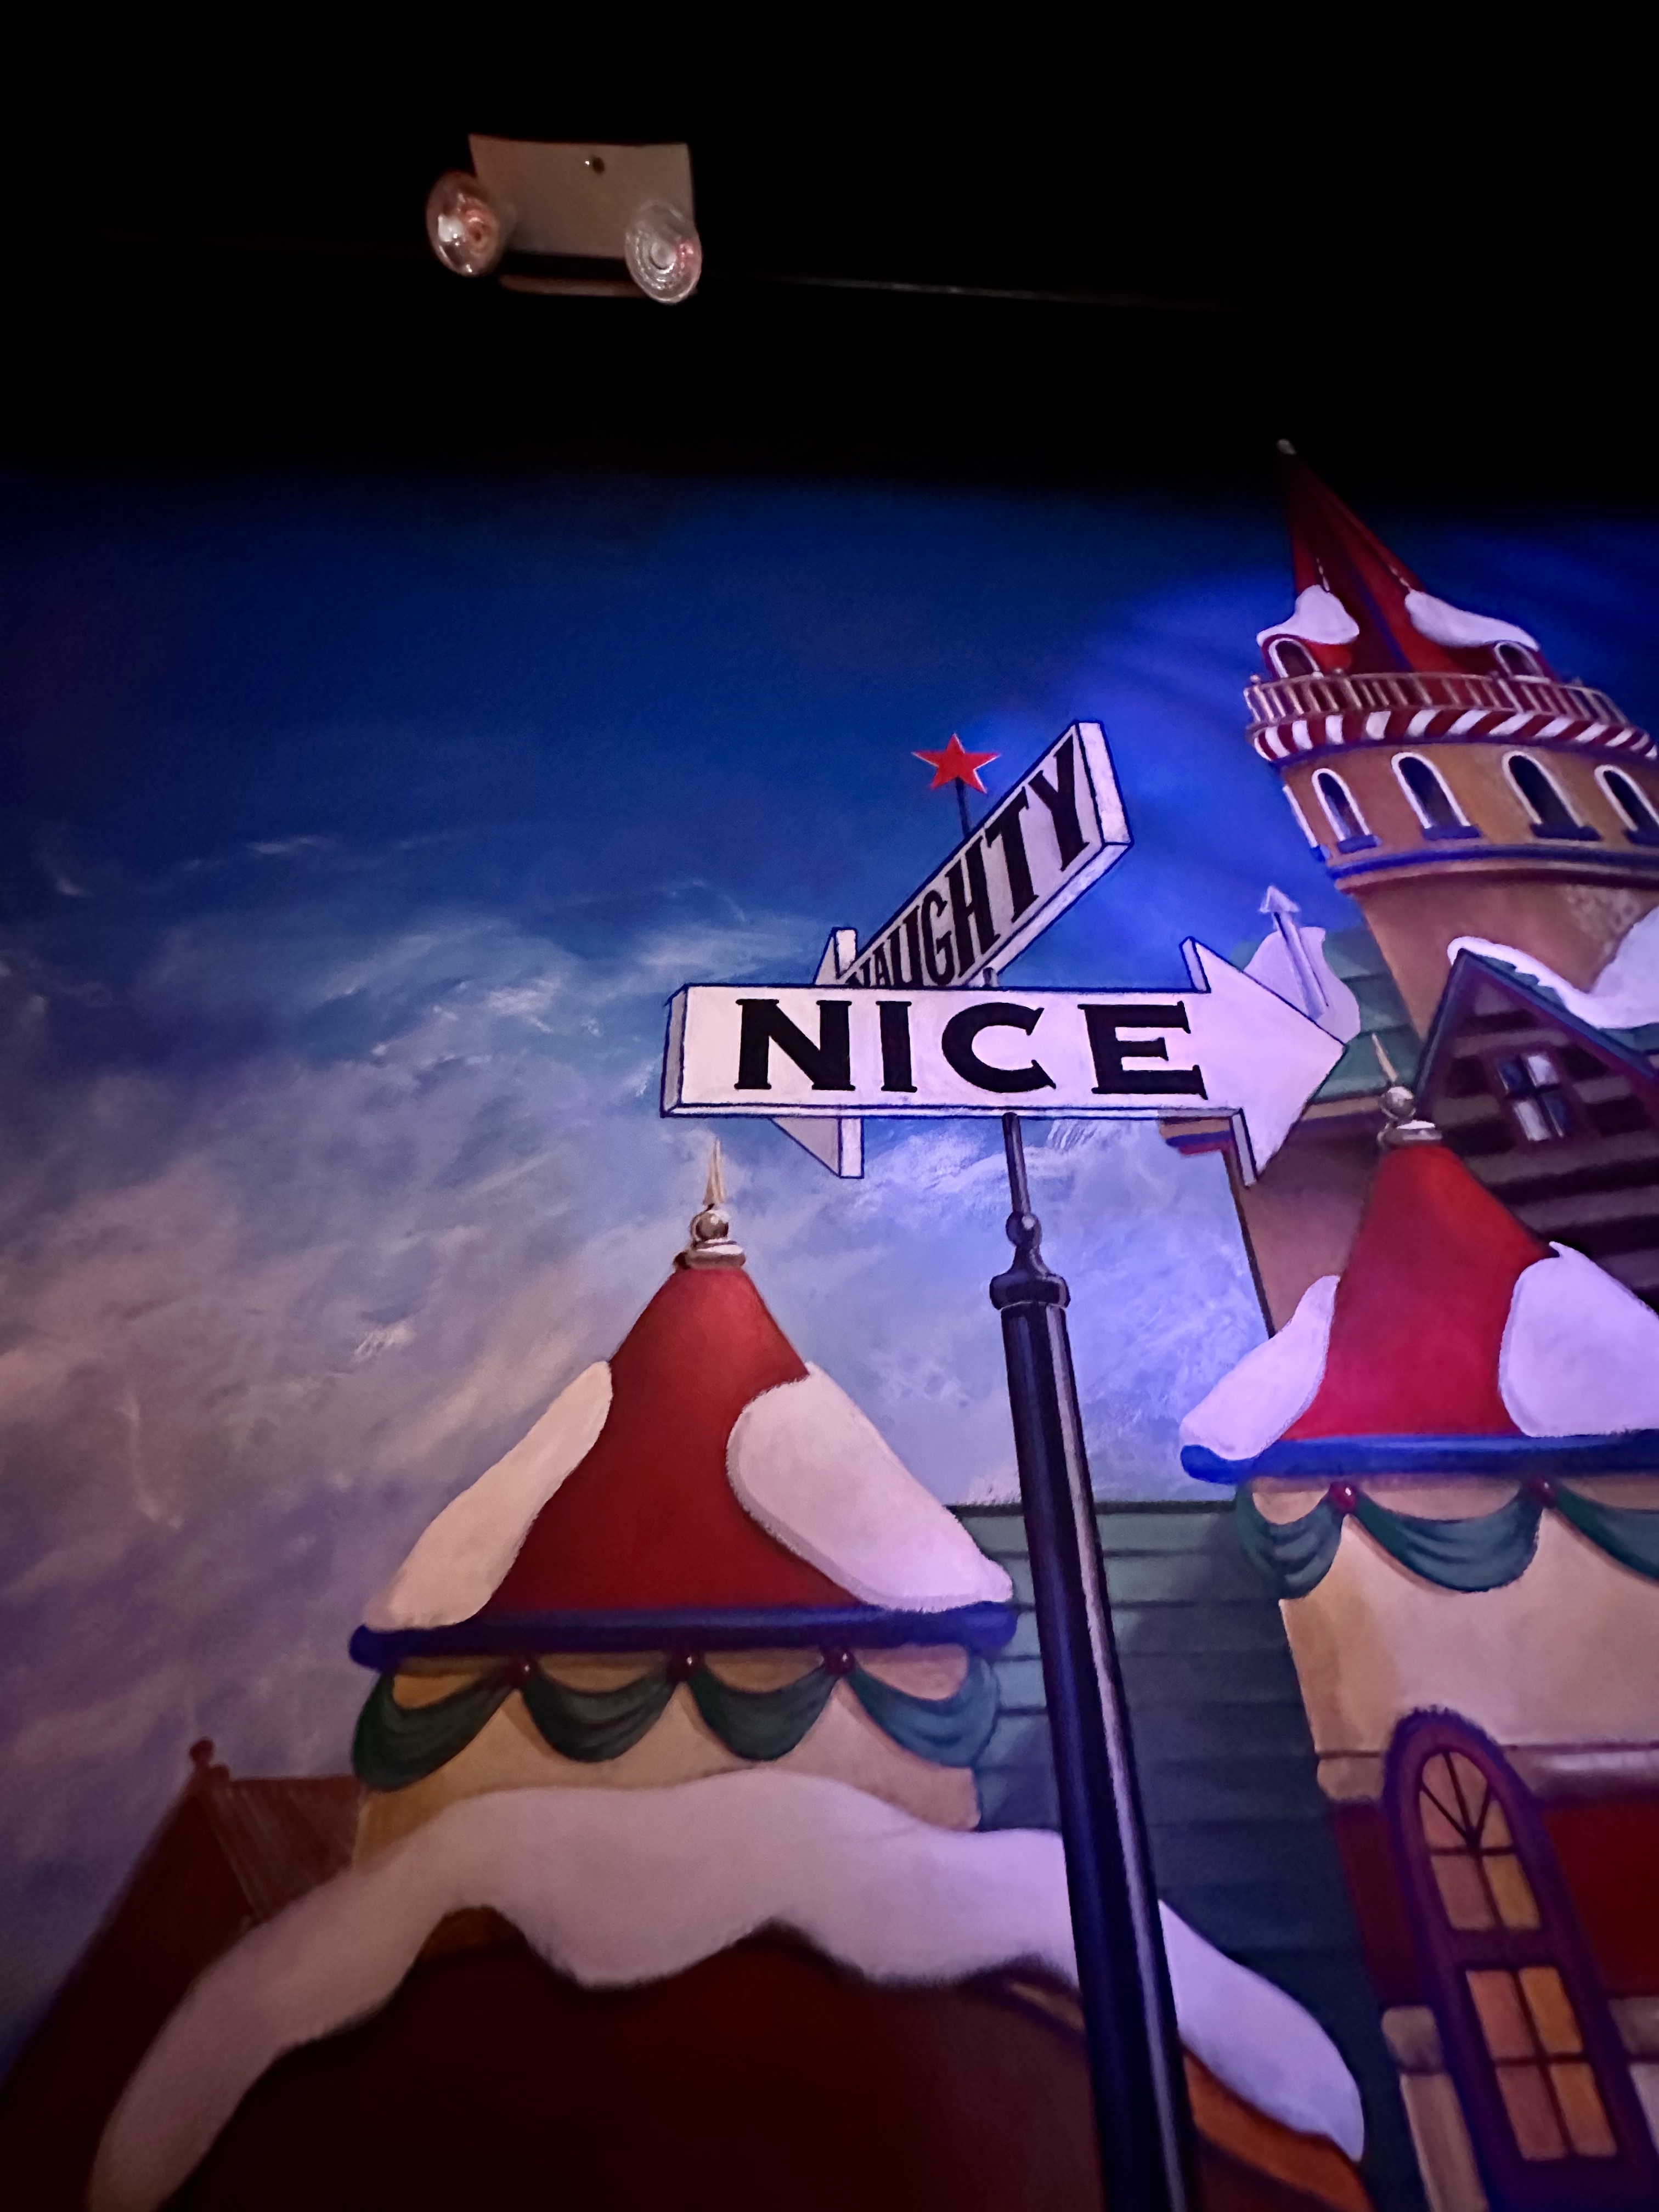
You have to pack your patience for a wait like that, and it may be difficult to stay off Krampus Court and keep on Nice Street . . . but seeing Santa there is a special experience. Macy’s won’t charge anything unless you choose to purchase their photos (which I recommend, they are terrific photos with very cute digital borders) and you are free to take your own photos too. You will pay with time and effort, but isn’t that often the case with so many things in NYC? I was at Santaland with a child this year, but a few years ago was with another adult (on a weekday, without a huge line! see below for picture) and Santa was just as kind to us as he was around a cute baby. Even as I was walking out this year, having been there mainly to see this baby get first photos with Santa and to take candids, Santa stopped me to ask my name and what I wanted this for Christmas! We are never too old to be reminded of our inner child, in my opinion.
Whether we are going to see Santa this year, or whether we ARE Santa this year, this holiday season reminds us that in the midst of darkness there can be light, that babies and children represent hope, and that opening ourselves up to unlocking our own inner childlike wonder can let a little magic into our everyday experience. Happy holidays to all!
One would only need to glance at this blog or know me a little to know that I walk all over New York City year-round, 50 or miles a week or more with regularity. I also bike – over 3200 miles in the past two years according to my Citibike app stats. I have blogged about walking in London and Paris, and even Los Angeles. My blog tagline is “A New York Real Estate Agent Explores the City.” But this post, and the next few I have planned, will be taking a markedly different tone, as I am about to leave NYC for Tanzania in a few days – to attempt to summit Mount Kilimanjaro, and celebrate afterwards with a photo safari.
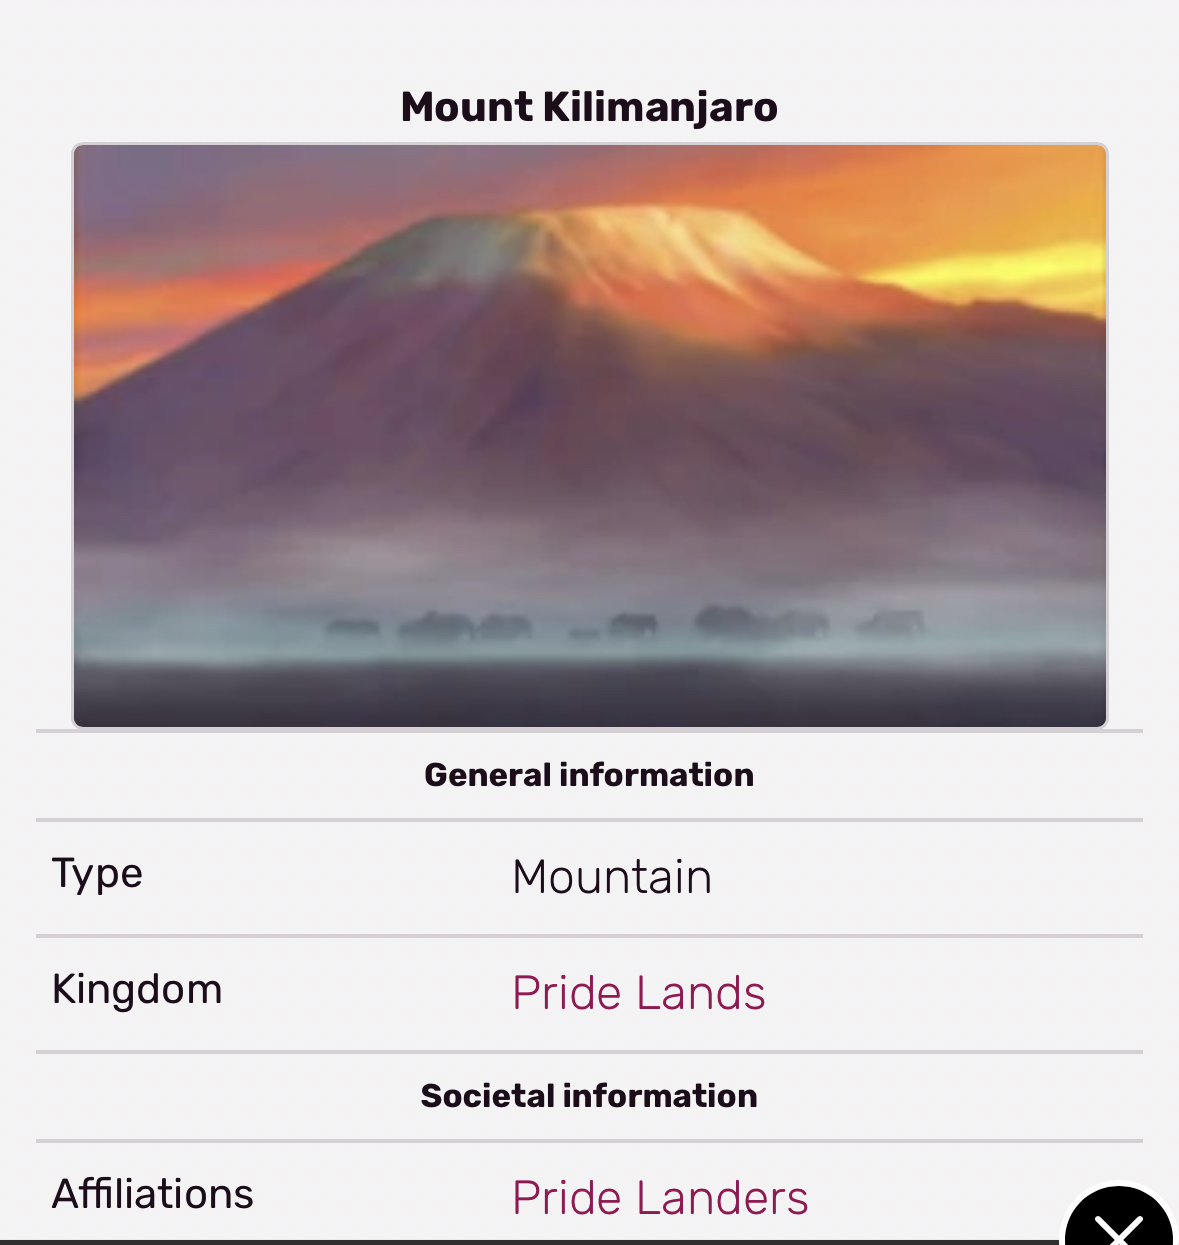
At the top of this post there is a screen grab of Mount Kilimanjaro as seen at the Disney attraction “Soarin’ Over the World.” And just above this paragraph is a Disney wiki entry showing that Mount Kilimanjaro appears in the opening sequence of Disney’s “The Lion King,” as animals travel for the presentation of Simba. This, plus a vague knowledge that Hemingway wrote a book called “The Snows of Kilimanjaro,” was my primary knowledge (absurdly limited! Kilimanjaro is in “Pride Lands” rather than Tanzania) about Kilimanjaro until a family member who enjoys hiking and I started to talk about combining her love for hiking with my desire to do a photo safari somewhere in Africa.
As I began to learn more, more decisions became necessary: which route to take up the mountain (there are several), which guiding company to go with (you are not allowed to climb Kili unguided, nor would I want to), and when to go. Here are some of my thoughts behind these choices:
Which Route
Kilimanjaro is a dormant volcano in Tanzania, with three volcanic cones: Kibo, Mawenzi, and Shira. Kibo has the highest elevation, Uhuru Peak at 5,895 m (19,341 ft) above sea level. Kilimanjaro is the highest free-standing mountain in the world, and, as the highest mountain on the continent of Africa, one of the “Seven Summits” (the highest peak on each continent). For perspective, Kilimanjaro is fourth highest of the Seven Summits, being less tall than Everest, Aconcagua, and Denali. The Marangu route, the only one with huts to stay in rather than camping, is the original way to the top. It is easier in some ways – more gradual, fewer steps since fairly direct – but is less favorable for acclimation to the altitude, leading to a success rate as low as 45%. The Machame route is the most popular route, and is often completed in six to seven days (more days leads to a higher chance of success). The Umbwe route is considered the most challenging route, very steep, and also without as much opportunity for acclimation. The Rongai route approaches from the Kenyan side of Kili, is less steep than Machame, and can be dryer during the rainy seasons (more about time of year later). Northern Circuit is a long route taking nine days, excellent for acclimation, and avoiding the Barranco wall if rock scrambling is a concern. The route I chose, Lemosho, is an eight day trip, considered to be one of the most beautiful journeys on Kili, starting in the rainforest, traveling through heather/moorlands, into Arctic desert, and concluding in the Arctic zone for the summit.
Which Guiding Company
I did a lot of research before booking with Ultimate Kilimanjaro, which has an excellent reputation for support and safety. However, there are many good companies and the most important thing is to book with a company that is a part of KPAP (Kilimanjaro Porters Assistance Project). If a company is certified by KPAP, it means that the local guides and porters are being paid a fair wage, and experience ethical treatment while working on the mountain. You can check on the KPAP site to ensure a company you are considering is on the list. Prices vary a lot between companies, and some of the least expensive companies may cut corners with payment and conditions for the people crucially supporting our climb.
When to go
Kilimanjaro is very near the equator, so temperatures don’t vary significantly between summer (December, January, February) and winter (June, July, August), but there are rainy seasons and more dry seasons. It is definitely easier to climb when you aren’t being rained on virtually every day, with snow once you get high enough, so I picked dry season (end of August). The big rainy season is in March through May, with another rainy season in November/December (usually less rainy). It can rain (or snow) any time of the year, of course, and rain is quite common year-round in the rainforest, but in the dry season you are unlikely (unless very unlucky) to have precipitation every day. The temperature on the mountain changes so much, however, that it is like climbing from the equator to the arctic in just a few days!
Physical training
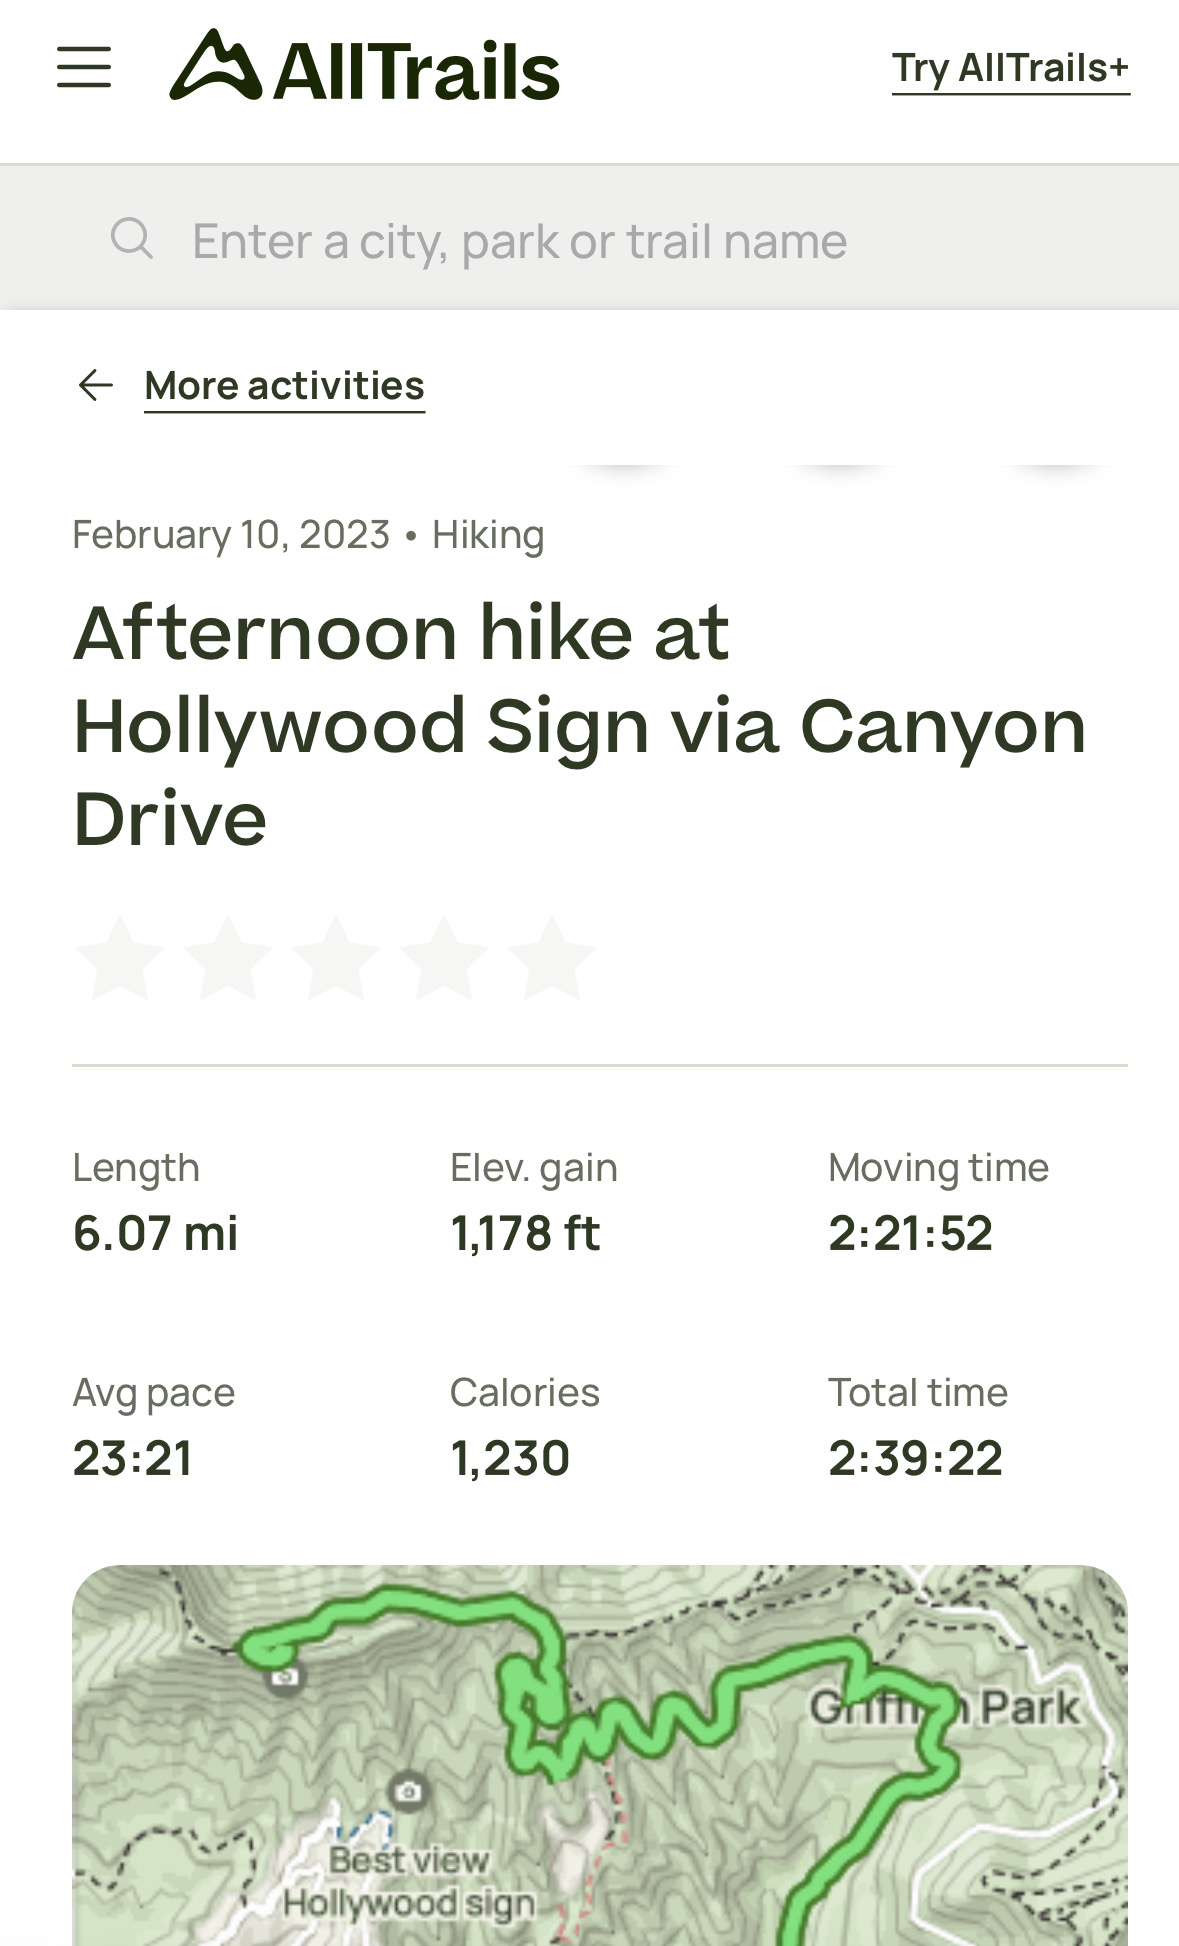
For the Lemosho route, I will hike about 45 miles, with plenty of uphill and downhill elevation, and some rock scrambling. Obviously it is best to be in good physical shape, and hiking is the best exercise for that (in addition to all my daily walking and biking in NYC, I did some hiking in California earlier this year to try out my boots and other gear, see below). Being in good cardio shape, resistance training, squats, and – especially – stairs (up and down, as the effort required for going down 15,000 feet over two days often does a real number on hikers’ quads, calves, and knees) are useful. Hiking with gear plus your fully weighed day pack is good preparation (see here for such a hike I did in Manhattan). You tend to go up slowly, to help with acclimation, and down quickly, to get back to oxygen-rich air!
Gear and clothing
At Kilimanjaro, you start out in the rainforest (at least on the Lemosho route) and end up in the Arctic zone. Temperatures at the summit range between 20 and -20 degrees Fahrenheit (-7 to -29 degrees Celsius), and the wind can vary as well, influencing the perceived temperature. Because of this range of conditions, it is challenging to pack clothes and gear for this trek. There is also a weight limit to how much your porters are allowed to carry, dictated by KPAP. I won’t go into all the details about clothing and gear, as there are many sites (including Ultimate Kilimanjaro’s) to give you sample packing lists and even specific items that are recommended. The most important items are your hiking boots, which must be comfortable, supportive, and waterproof – and well broken-in. There are no huts to stay in on the Lemosho route, so I will be sleeping in a tent. No electricity, although I will take battery packs to keep my few electronic items charged. No running water, no showers. Below is what my duffle for the mountain looks like, with things organized in waterproof bags.
Vaccinations and medications
Although there are no requirements for vaccines to travel to Tanzania other than if you are coming from a place where Yellow Fever is an issue (and coming from the US via a plane change in The Netherlands, this is not an issue for me), the CDC has a list of recommended vaccines, which you can see on their website here. I updated my TDaP, and had Hep A and Typhoid vaccines, and was fully up-to-date on everything else. As for medications, you need anti-malarials (and there are various kinds with different pluses and minuses, so look at the CDC site and talk to your doctor – all require a prescription) and you can choose to take acetazolamide (also a prescription), which may help with altitude sickness, and ibuprofen (over-the-counter) for sore muscles and symptoms of altitude sickness. Most people who are unable to summit, who need to be evacuated, or experience severe illness on the mountain are experiencing the effects of extreme altitude on the body. Going up slowly can help your body to adapt to the altitude, but some people are more susceptible than others and even people who have not had trouble with altitude before can have a bad experience on a subsequent trip. Because of lower atmospheric pressure and lower oxygen levels, at 10,000 feet and above, 75% of all people will experience some symptoms of altitude sickness (headache, nausea, dizziness, shortness of breath, loss of appetite, trouble sleeping, fatigue) but Acute Mountain Sickness (AMS) is a more severe form of altitude sickness that can affect the lungs or the brain, and if you have AMS it is crucial that you descend as quickly as possible. On my trek the guide will be checking my pulse rate, blood oxygenation level, and administering the Lake Louise Scoring System by asking questions morning and night. I have agreed that if the guide says I need to descend, I will do it. However, on the Lemosho route, which has multiple opportunities to “climb high/sleep low” (optimal for acclimation) and also takes six days to ascend (two days to descend!), as many as 90% of all climbers on this route are able to summit.
As is clear from the two quotes above, climbing a mountain is often used as a metaphor for life, for overcoming difficulties, and/or for a personal journey. In the next few weeks I will have the literal experience of putting one foot in front of the other and – hopefully – looking back to discover that I have climbed a mountain. But I expect that this physical journey will end up to be an emotional/psychological one as well. I intend to take each day as a grand adventure, focusing on the experience rather than the inconveniences, discomfort, fatigue or the ultimate goal. Although I certainly will do everything within my power to reach the summit, if altitude sickness prevents it, there will be so many other experiences that will make the trip worthwhile. And, after getting down from the mountain, a five-day safari awaits. Hopefully next month I will be posting twice, once about the Kili climb, and once about the safari. (POSTSCRIPT: read about the Kili climb here and the safari afterward here!) It’s almost time to leave – wish me luck!
Every two years since 1895 the city of Venice, Italy, has hosted a festival of the arts that draws art, artists, and art-lovers from around the world. I have attended this fantastic event every two years since 2009 (making this year my sixth visit) and found the art this year to be perhaps the most thought-provoking I have experienced so far at the Biennale. I have been to Venice once in the past ten years during an even-numbered year – so not during the Biennale – and find the excitement and richness of having this city, already an art form itself, completely immersed in modern art to be my favorite way to experience it. First, for those not fortunate enough to have visited Venice yet, a bit about the city.
As everyone knows, the city improbably rests on a nest of tiny islands (118 of them!) of land, surrounded by water. You can get around via water taxi if you have money to burn, a gondola once just for fun (try a traghetto across the Grand Canal for two euro to get the same feeling for a lot less), or a vaporetto (water bus on set schedules; buy a pass), but my favorite way to get around Venice is to walk. If you are able-bodied, you can walk from one end of Venice to the other in less than an hour, crossing bridge after bridge (there are over 400 of them) and wandering through twisting alleyways.
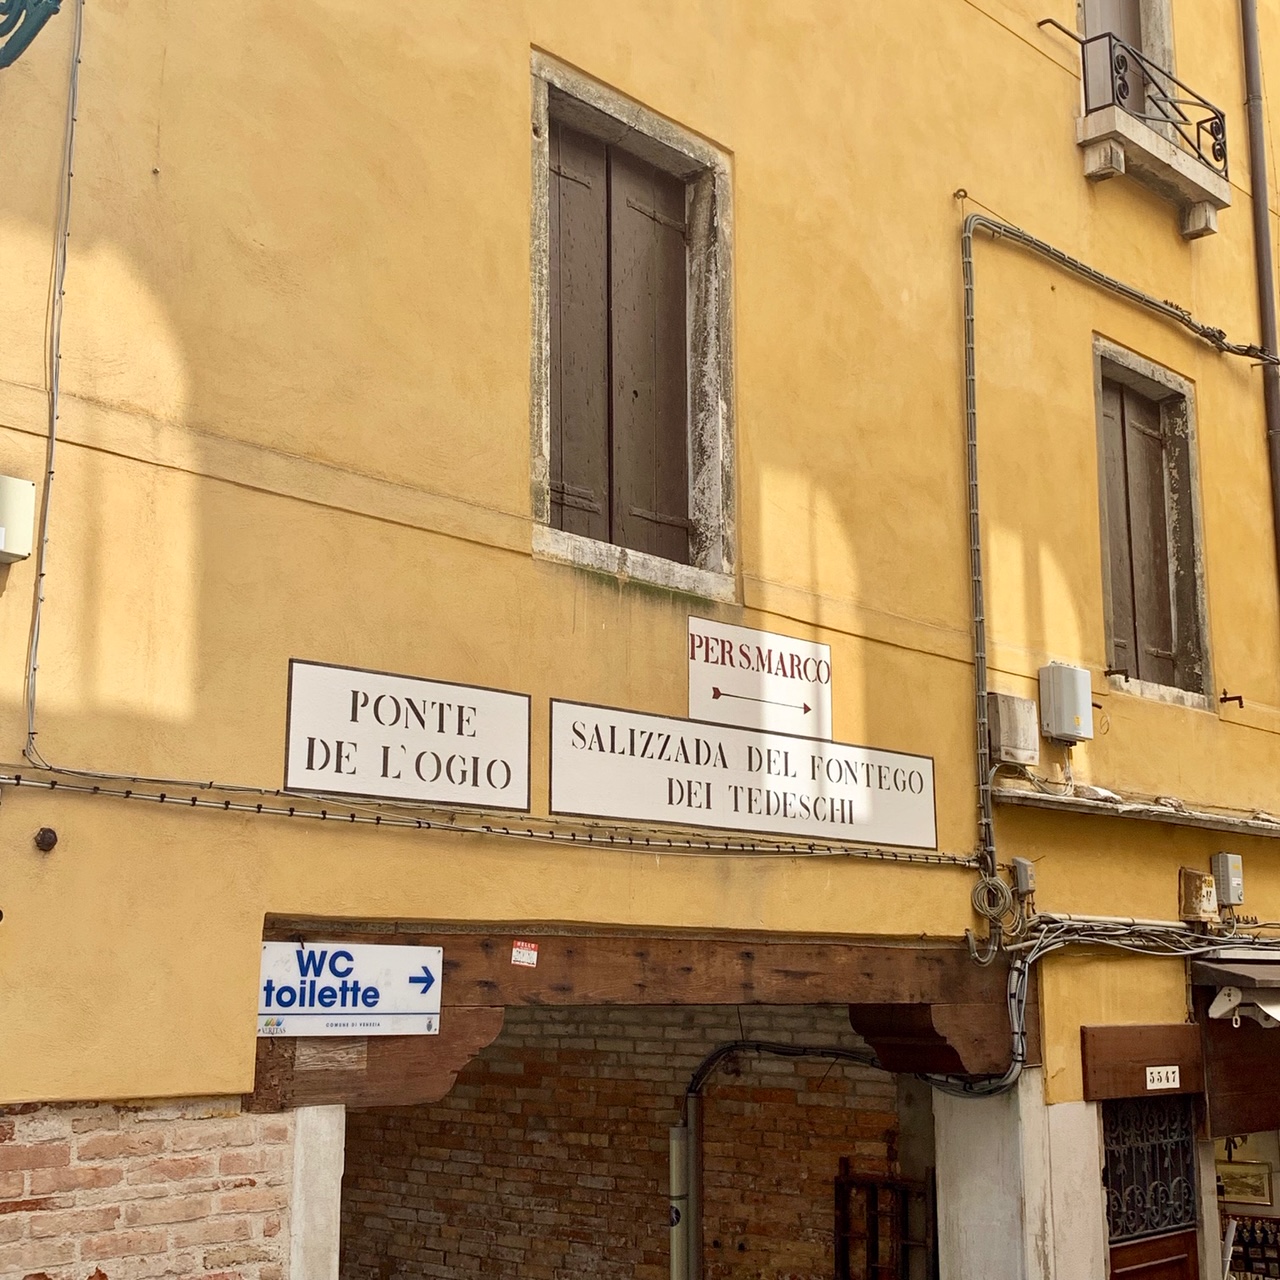
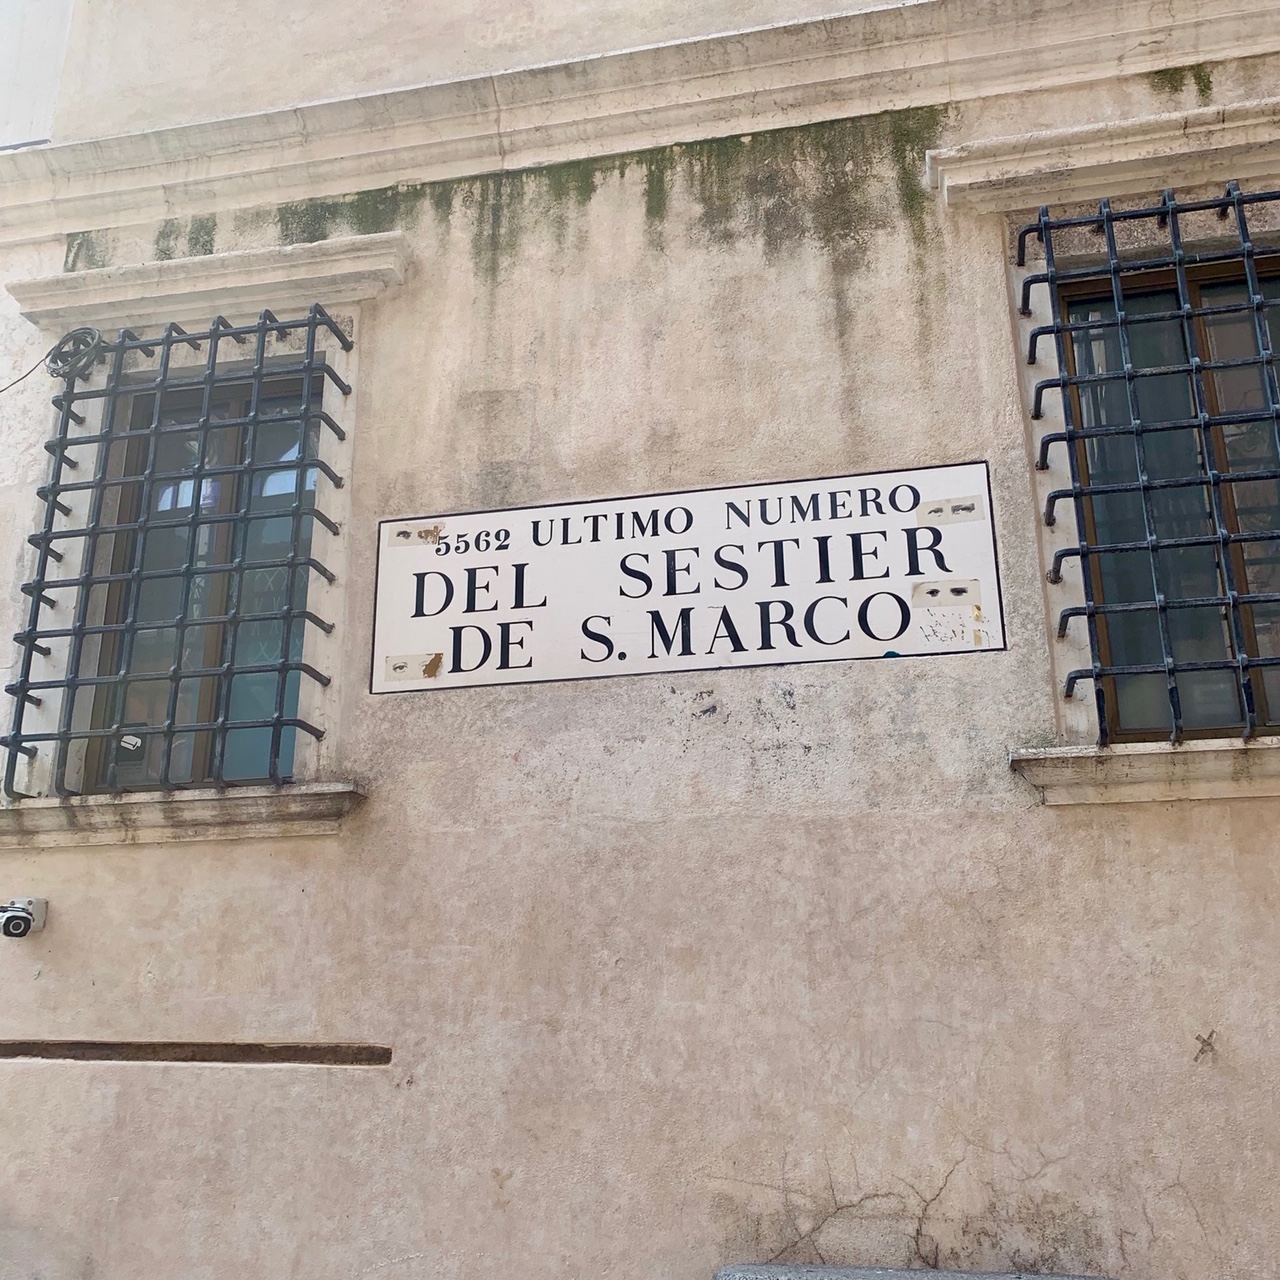
Forget about Google maps, just understand Venice enough to understand the basic location of the different sestieri (six neighborhoods) and know certain landmarks (San Marco, the main piazza where the Basilica and Doge’s Palace are; Rialto, the iconic bridge; Accademia Bridge, connecting San Marco sestiere with Dorsoduro and leading to you to Peggy Guggenheim’s palazzo/museum; Ferrovia, the train station; and Piazzale Roma, the place near the port where buses from the mainland drive in). See above an example of the signs you will constantly see when walking through Venice that say “per San Marco” or “alla Ferrovia” to direct you. I usually stay in the sestiere Cannaregio and once I get off the main Strada Nova it seems I rarely take the same route twice to get to San Marco, but the signs always guide me correctly.
Back to visiting the Biennale – it is held in two locations, both within the sestiere of San Marco. Held in odd-numbered years, it runs from late May until late November (you have until November 24 to attend this year). My favorite time of the year to go is in fall (although I failed to do that this year, going in blazing August!). The disadvantage to fall is that you are more likely to experience aqua alta (flooding) but bring proper footwear and be prepared to walk along the wooden bridges the city places out, and the lack of heat and crowds will make up for the inconvenience.
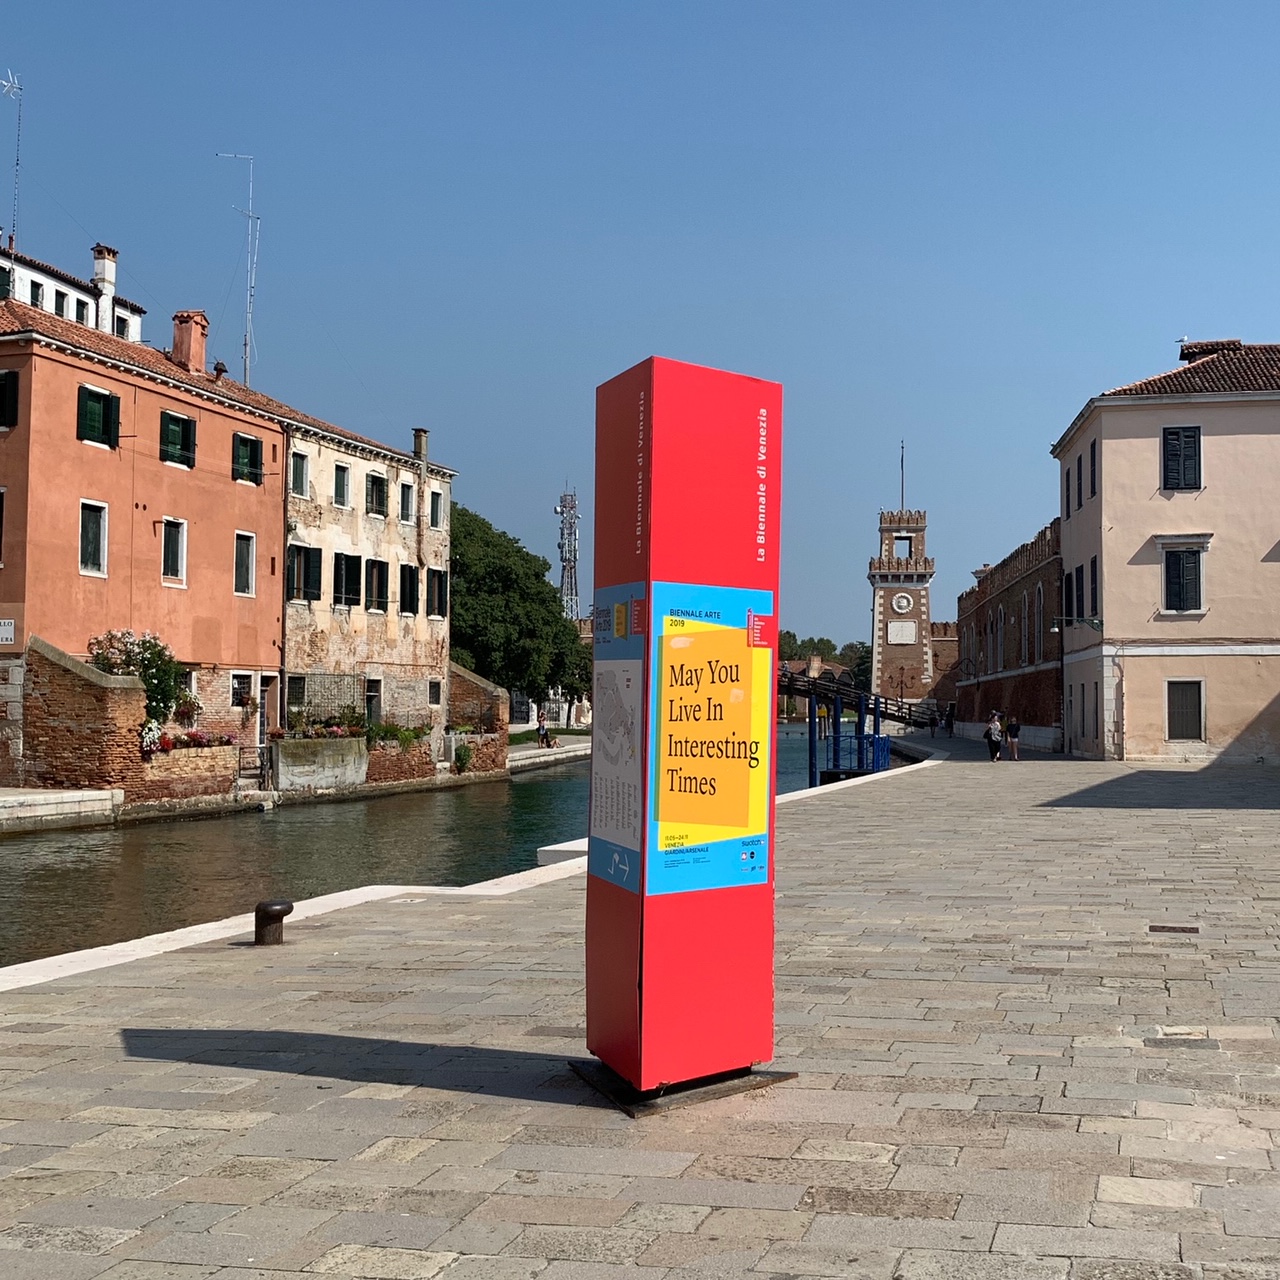
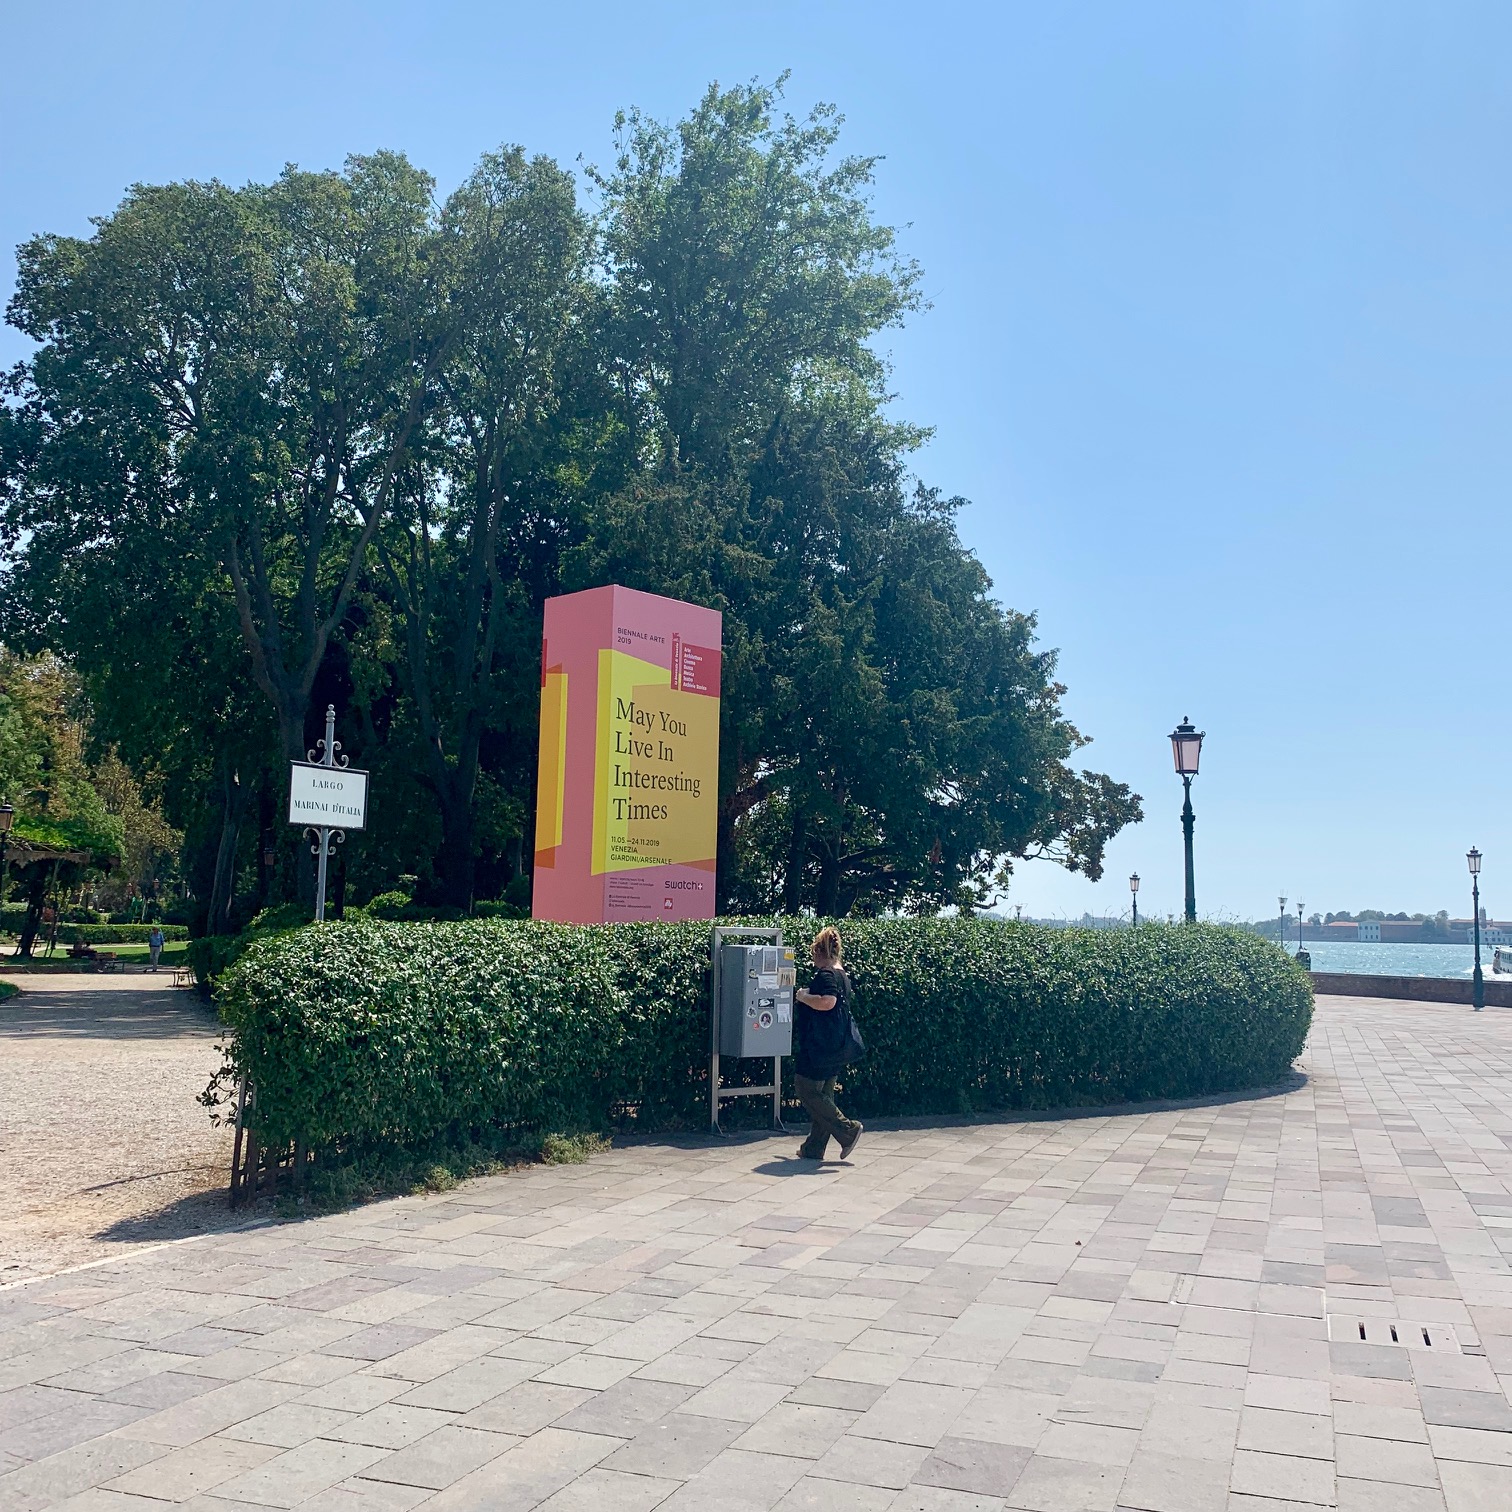
To get to the Biennale, once you have found your way to Piazza San Marco, you will be looking at the lagoon, with the Doge’s Palace to your left. Turn left and walk along the water for about 15 minutes until you see the traditional red kiosk indicating the Biennale:
You will turn away from the water toward the kiosk and shortly will be at one of the two main venues, the Arsenale.
A ticket purchase allows you to visit both venues, and you can go to each on a different day – or if you start early and aren’t easily tired, can go from one to the other and see both in one day.
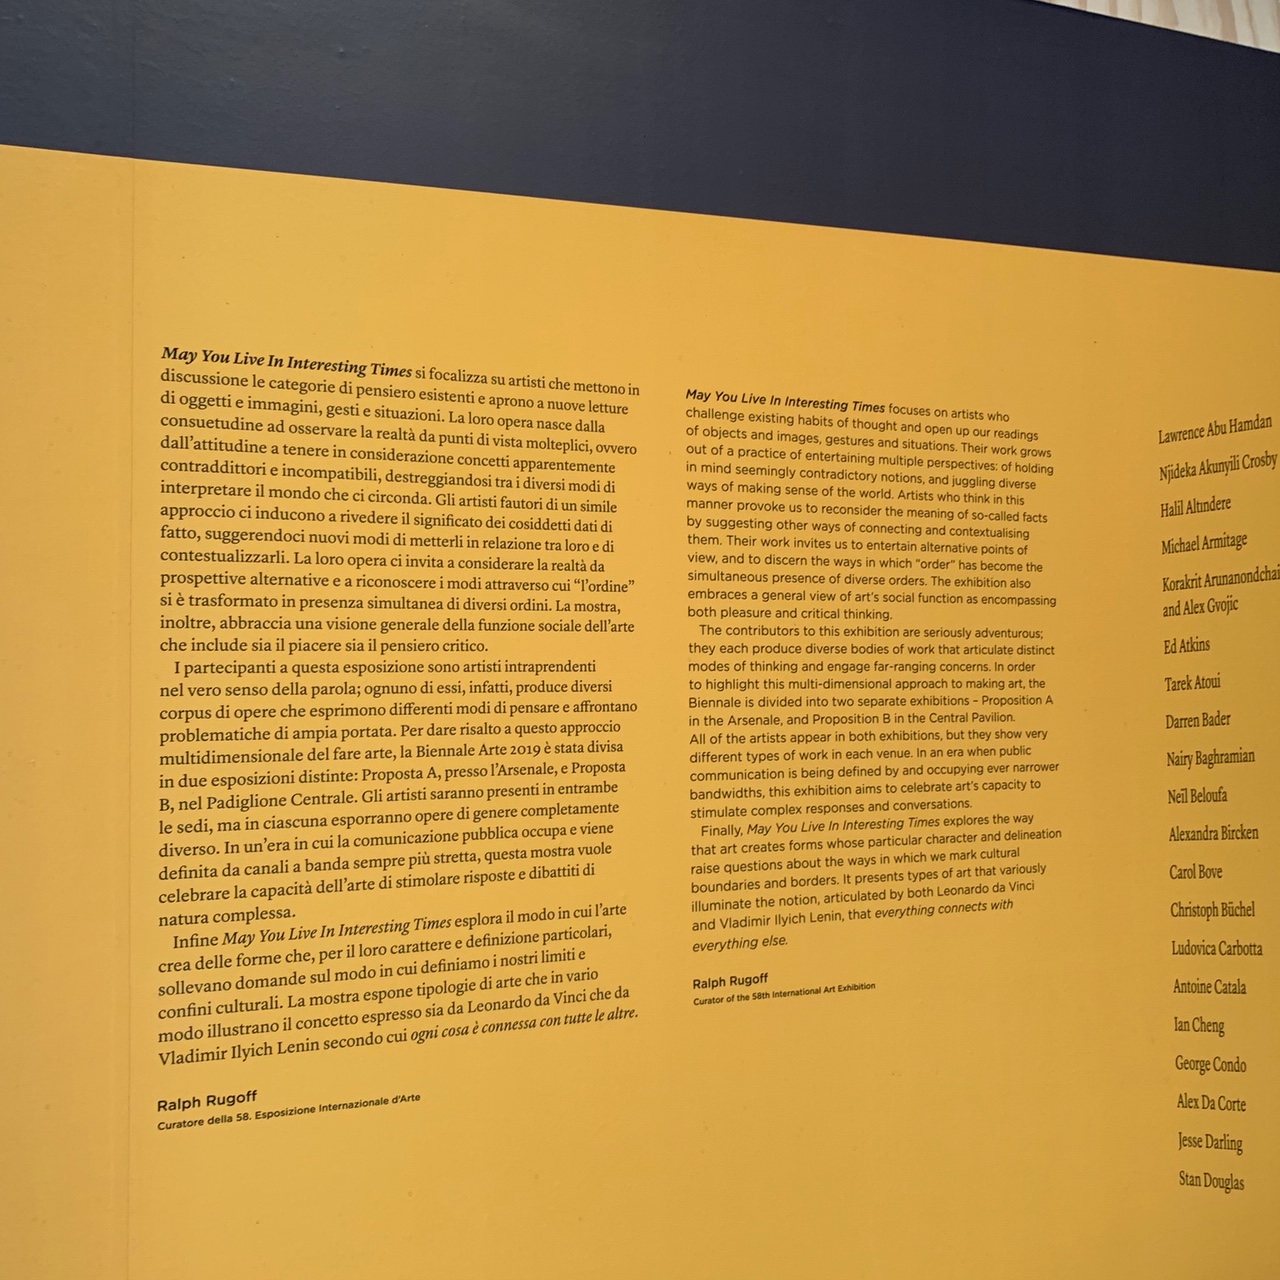
The theme this year is “May you live in interesting times,” and the curator did something different this year in that artists were chosen for their personal diversity of expression. So the same artists that you see in the Arsenale will have other works, in a different form, in the main exhibition area of the Giardini, the second site. One of the questions I have often been asked by people who have never attended the Biennale is if all the art is Italian. Far from it, this is an international art festival featuring artists from all over the world.
The amount of art can be overwhelming, and the media and topics are wide-ranging. One of my favorite things about visiting the Biennale is the idea that as I walk from giant room to giant room, or go behind a curtain, I never know what I will see. It’s thrilling.
Far from being simply a treat for the senses, modern art today stimulates the intellect. I found this year’s art overall to be more thought-provoking than other years I have been, and I have continued to think about some of the pieces since returning.
Your trip through the Arsenale will eventually lead outside. There is a cafe there for lunch or refreshments. Now on to the Giardini!
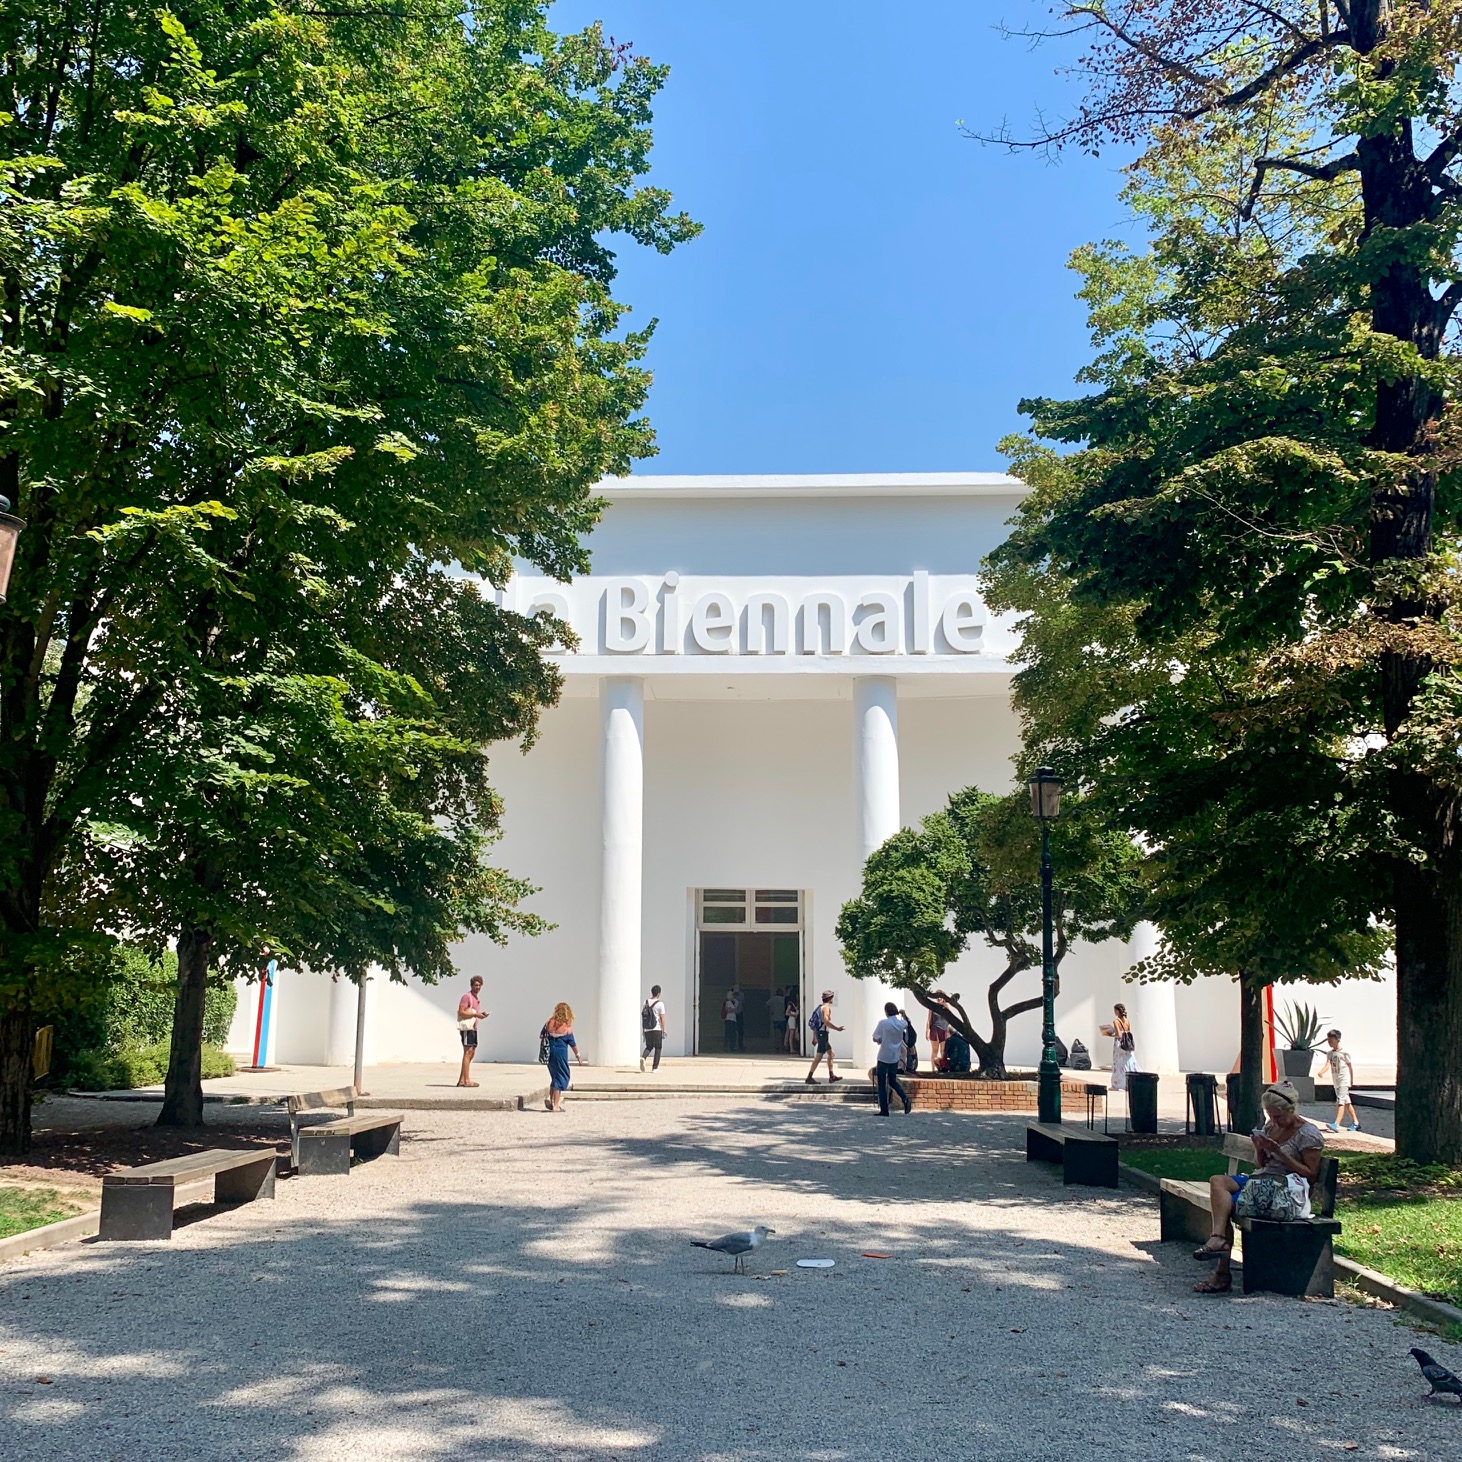
Head back to the lagoon and continue to the left for 10 minutes or so until you see another kiosk. The Giardini is, as promised, a garden – with a large exhibition hall as well as individual pavilions for art from countries around the world.
This year the large exhibition hall featured different work from the same artists who had been selected to present in the Arsenale.
There is a cafe in the main hall as well as a bookstore. Then wandering through the gardens, you come across the pavilions from different countries. Each country selects an artist to represent them for each Biennale.
To do both venues and all the country pavilions in one day starting at 10 and ending at 6 is certainly possible – it’s what I usually do. But it is an exhausting day, and not recommended for your first visit.
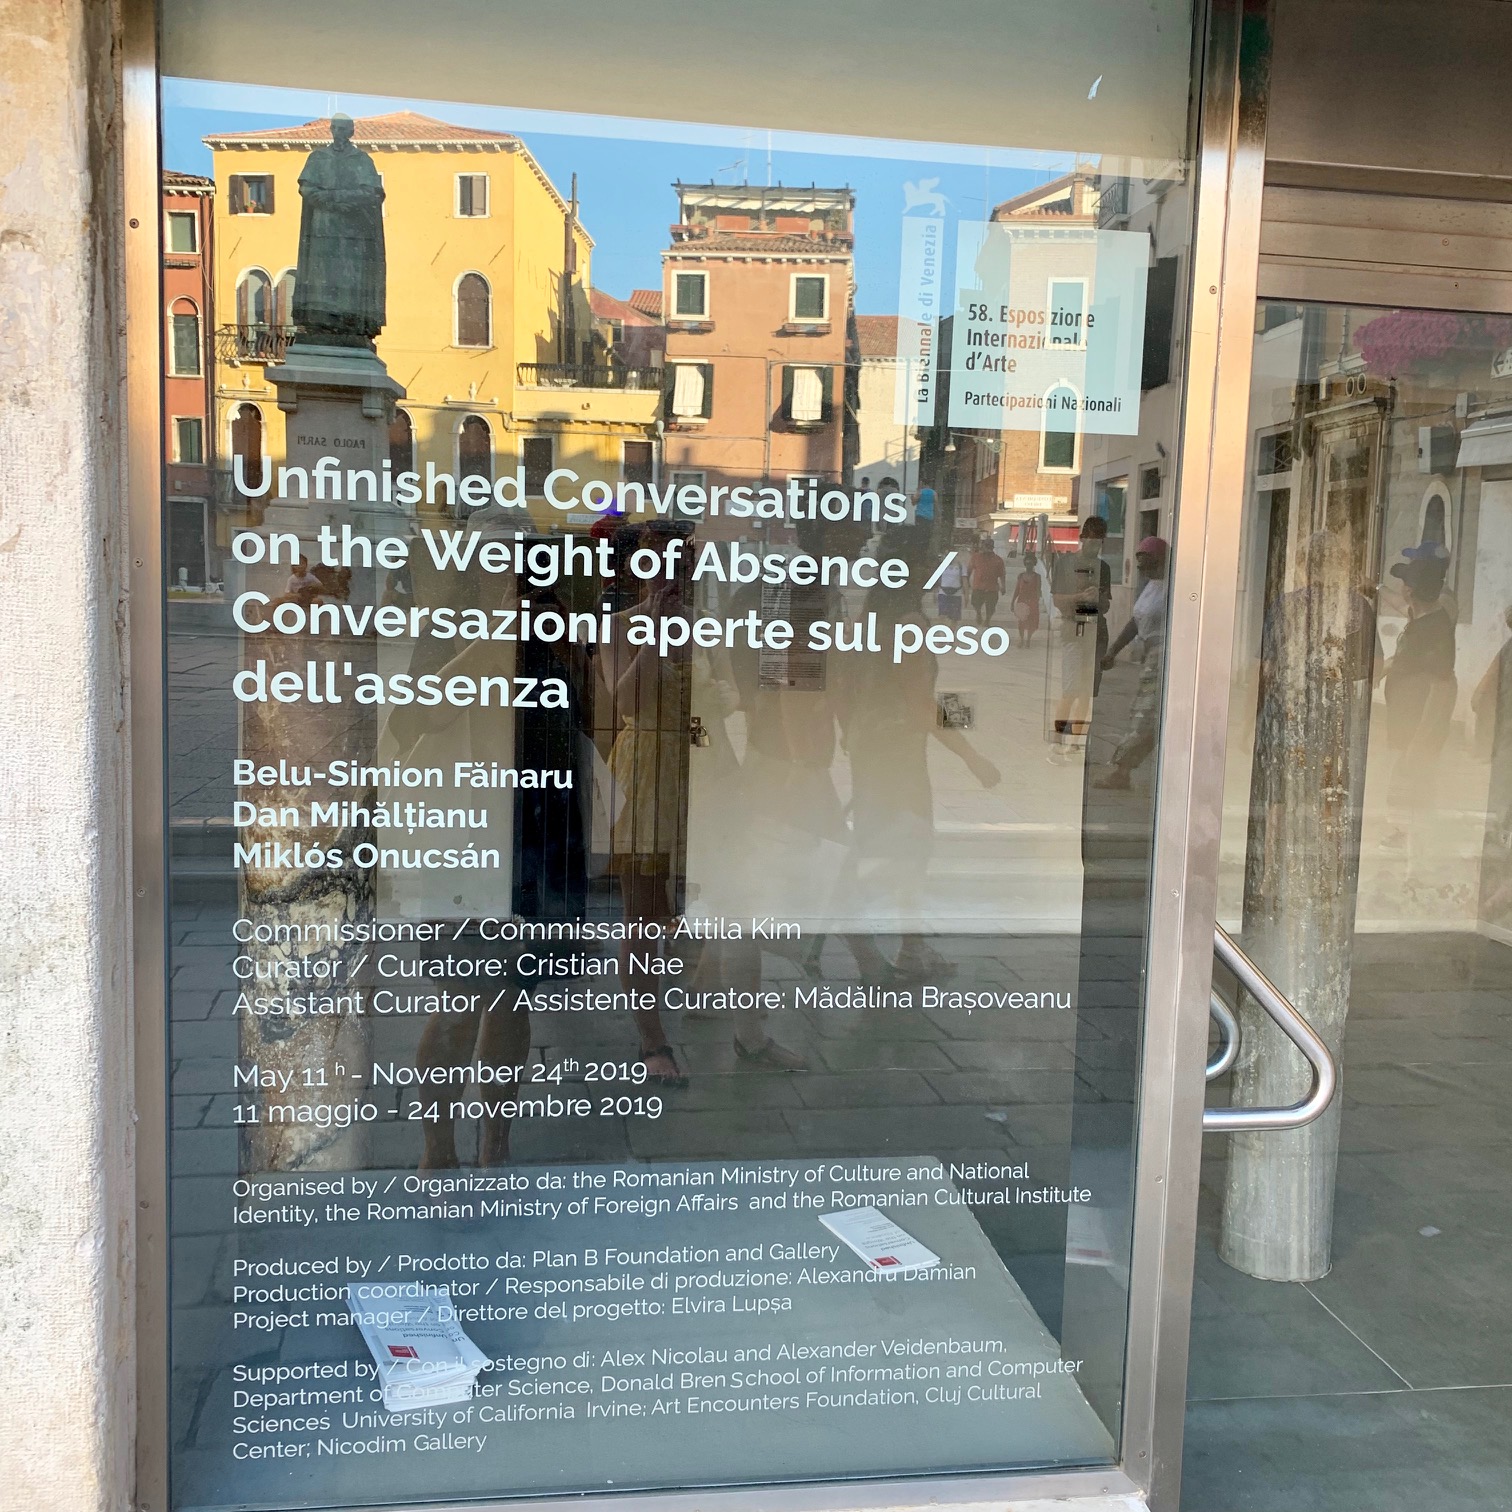
There are also auxiliary art installations and sites all over Venice. If you are in the city for several days, you will stumble upon several (many of which are free) and you can also look in your Biennale guide to see all the locations.
As mentioned before, the city of Venice itself is an enormous art form, and the best way to experience it (in my opinion) is to wander and get lost a bit. You can never get hopelessly lost as long as you know the landmarks and look out for the directional signs.
And finally, don’t forget to just enjoy being in Venice. A spritz on a piazza, soaking in the ambiance of Harry’s Bar, and enjoying gelato (I’ve tried them all and always go back to Ca’ D’Oro) . . . there is certainly an art in savoring life itself, and there is really no place to do this better than Venezia.